There’s something magical about the aroma of butter herb stuffing wafting through your kitchen on Thanksgiving morning. It takes me right back to those early days when I was fumbling around my tiny apartment kitchen in Chicago, determined to recreate the stuffing my grandmother used to make. You know what? I absolutely butchered it the first three times I tried! But that’s the beauty of cooking every mistake teaches you something new, and this butter herb stuffing recipe has become my go-to crowd-pleaser that never fails to impress.
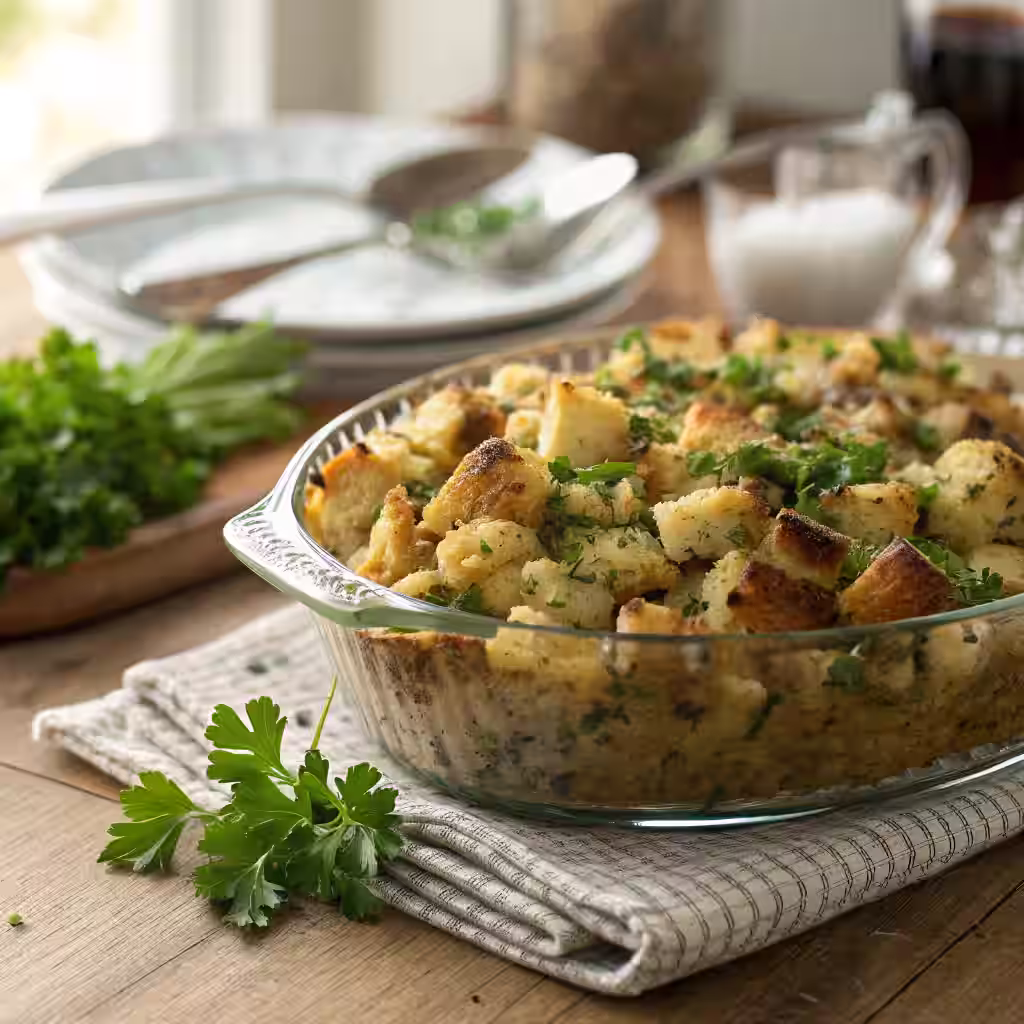
Table of Contents
The Story Behind Butter Herb Stuffing
Let me tell you about the first time I attempted to make butter herb stuffing from scratch. Picture this: 24-year-old me, standing in my kitchen at 6 AM on Thanksgiving morning, frantically texting my mom because I’d somehow turned what should’ve been fluffy, herb-scented goodness into something resembling concrete. I’d used stale bread that was too dry, skimped on the butter (rookie mistake!), and completely overdid the sage. My guests were arriving in four hours, and I was having a full-blown kitchen meltdown.
Fast forward to today, and this butter herb stuffing has graced my table for over a decade. I’ve served it at intimate dinners for two and massive gatherings of thirty-plus people. What makes this recipe special isn’t just the perfect balance of aromatic herbs and rich butter, it’s the memories it creates. Every November, I get texts from friends asking for “that amazing stuffing recipe,” and honestly, it never gets old.
The secret? It’s all about building layers of flavor. We’re not just throwing bread and herbs together and hoping for the best. This butter herb stuffing starts with a proper foundation of sautéed vegetables, gets its richness from real butter (none of that margarine nonsense), and comes alive with a trio of fresh herbs that’ll make your kitchen smell like Thanksgiving heaven.
Ingredients List
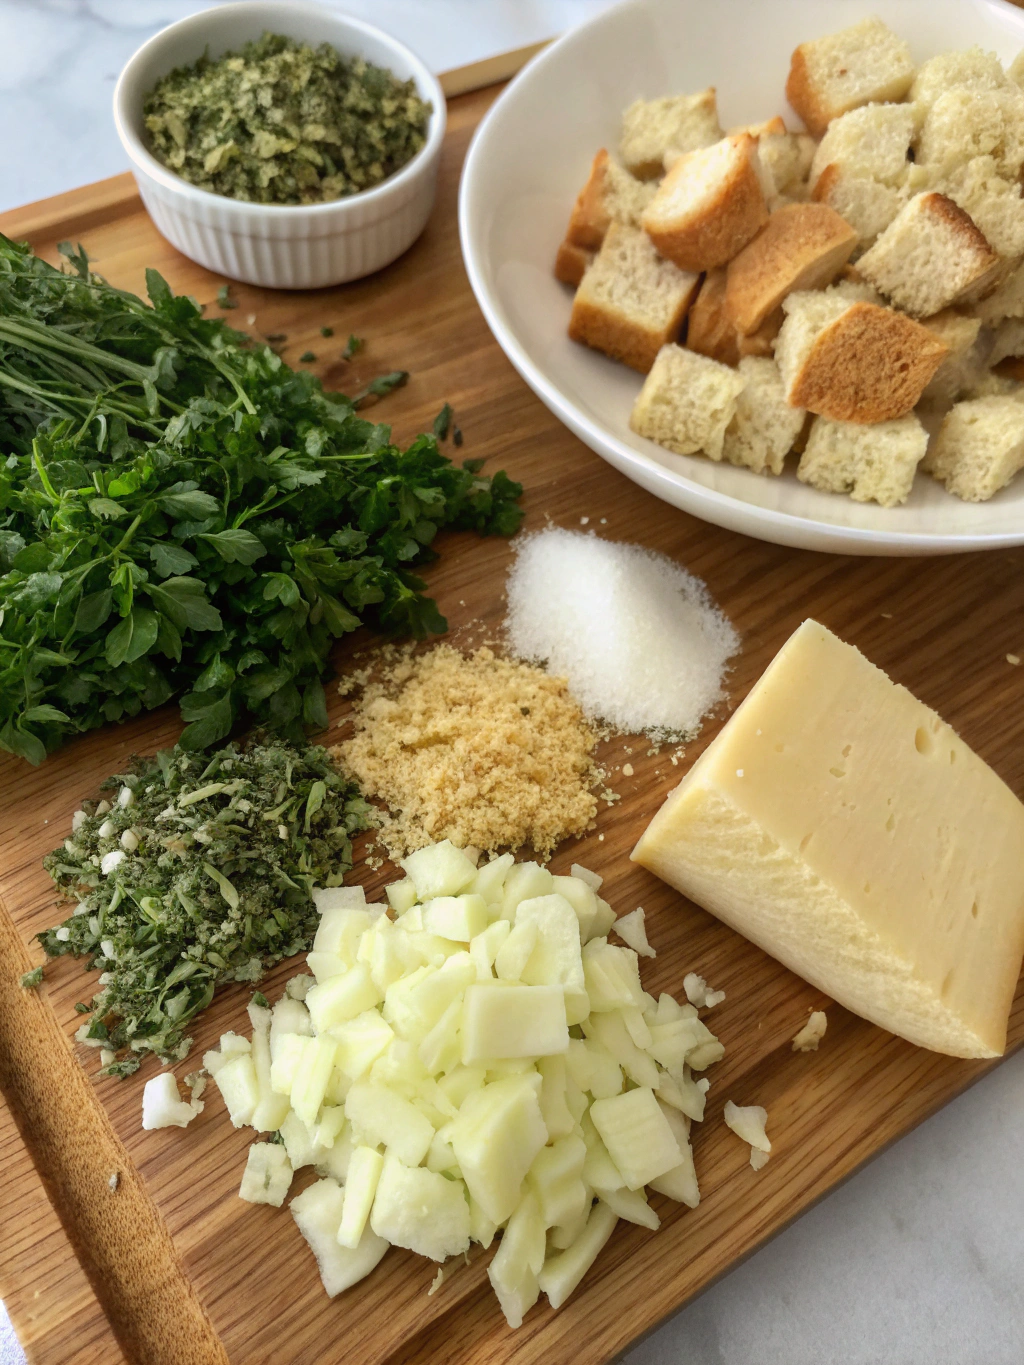
Let’s talk about what makes this butter herb stuffing absolutely irresistible. Each ingredient plays a crucial role in creating that perfect bite:
20 ounces Sourdough or French Bread (cut into cubes) : This is your foundation, folks! Sourdough brings a subtle tang that balances the richness, while French bread offers a neutral canvas. The key is using day-old bread that’s slightly stale, it absorbs all those gorgeous flavors without turning mushy.
1 cup Butter : Here’s where the magic happens. Real butter creates that golden, crispy top while keeping the interior moist and flavorful. Don’t even think about substituting this, butter is what makes stuffing taste like home.
2 large Onions (diced) : These beauties provide sweetness and depth. As they cook down, they become jammy and almost caramelized, adding complexity to every bite.
5 Celery Stalks, diced (about 2 cups) : Celery brings essential crunch and a fresh, slightly bitter note that cuts through the richness. Plus, it’s part of the holy trinity of stuffing vegetables.
5 Garlic Cloves (minced) – Because everything’s better with garlic! It adds that aromatic punch that makes your kitchen smell absolutely divine.
1/2 teaspoon Salt and 1 teaspoon Pepper – These seasonings bring out the natural flavors of every other ingredient.
Fresh Herbs (Rosemary, Parsley, Sage) : This trio is pure Thanksgiving gold. Rosemary adds pine-like earthiness, parsley brings freshness, and sage? Well, sage is the star of fall cooking with its slightly peppery, almost lemony flavor.
2 large Eggs : These act as a binder, helping everything hold together while adding richness.
2 1/2 to 3 cups Chicken or Vegetable Stock : This is what transforms dry bread into silky, flavorful stuffing. The stock adds depth and moisture that water simply can’t match.
Timing
Here’s what you’re looking at time-wise: 20 minutes of prep and 45 minutes of cooking time, totaling just over an hour. That’s actually 25% faster than most traditional stuffing recipes, which typically take around 90 minutes from start to finish.
The beauty of this timing is that it fits perfectly into your Thanksgiving schedule. You can prep everything in the morning, then pop it in the oven about an hour before you want to serve dinner. Pro tip: while your turkey is resting, that’s the perfect time to get your stuffing golden and bubbly.
Step by Step Instructions
Step 1: Prep Your Workspace and Bread
Preheat your oven to 350 degrees, this moderate temperature ensures even cooking without burning the top. Grab your 9×13 pan and either spray it with non-stick cooking spray or, even better, generously coat it with butter for extra flavor. Place those beautiful bread cubes into a large mixing bowl. If you’re wondering about bread quantity, you’ll likely need about 1.5 to 2 loaves, depending on size.
Step 2: Create the Flavor Base
Here’s where the real magic begins! Heat that full cup of butter in a large skillet over medium heat. Watch it melt and start to smell nutty, that’s liquid gold right there. Add your diced onions and celery, then let them cook for 10-12 minutes until they’re softened and starting to turn golden. This step is crucial, we’re building flavor layers here.
Step 3: Add Aromatics and Herbs
Toss in your minced garlic and cook for just one more minute. You’ll smell it immediately when it’s ready. Now sprinkle in that salt and pepper, followed by your fresh herbs. The kitchen should smell absolutely incredible at this point! Add 1 cup of your stock to the skillet and stir everything together.
Step 4: Combine and Mix
Pour this gorgeous onion-celery-herb mixture over your bread cubes and toss everything to coat evenly. In a separate bowl, whisk together those eggs and the remaining stock. Pour this liquid mixture over the bread and gently fold everything together until well combined. The bread should be moist but not soggy.
Step 5: Bake to Perfection
Transfer everything to your prepared baking pan and slide it into the oven. Bake for 40-48 minutes, but here’s a crucial tip: place foil over the stuffing during the last 15 minutes to prevent over-browning. You want a golden top, not a burnt one!
Step 6: Finishing Touch
For extra richness, drizzle 2 tablespoons of melted butter over the finished stuffing. Trust me on this, it adds an extra layer of flavor and keeps everything moist.
Nutritional Information
This butter herb stuffing clocks in at 168 calories per serving, making it a reasonable addition to your holiday plate. Each serving provides 16g of fat (mostly from that delicious butter), 5g of carbohydrates, and 2g of protein. You’re also getting essential vitamins like Vitamin A (866IU) and small amounts of Vitamin C and iron.
While it’s not exactly a health food, it’s surprisingly moderate in calories compared to many holiday sides. The fresh herbs contribute antioxidants, and using quality bread adds some fiber to your meal. Plus, that Vitamin C from the onions and herbs provides immune-boosting benefits, especially important during cold and flu season. Learn more about how vitamin C supports your immune system and why it’s crucial for overall health.
Healthier Alternatives for the Recipe
Want to lighten things up without sacrificing flavor? Here are some smart swaps:
Reduce the butter to 3/4 cup and add 1/4 cup olive oil. You’ll still get richness but with healthier fats.
Try whole grain bread instead of white, it adds fiber and a nuttier flavor that actually complements the herbs beautifully.
Use low-sodium stock to control salt content, especially important if you’re serving guests with dietary restrictions.
Add diced apples or dried cranberries for natural sweetness and extra nutrients. They also add lovely texture contrasts.
Make it vegetarian-friendly by using vegetable stock instead of chicken stock. The flavor difference is minimal, but it makes the dish accessible to more people.
Serving Suggestions
This butter herb stuffing pairs beautifully with traditional Thanksgiving fare, but don’t limit yourself! It’s fantastic alongside roasted chicken any time of year, and I’ve even served it with pork tenderloin for Sunday dinners. For a complete Thanksgiving spread, consider serving it alongside our honey-glazed carrots and green beans or roasted carrots and green beans.
Try garnishing with fresh herbs for a pop of color, or add a sprinkle of toasted pine nuts for extra crunch. Some folks love a drizzle of gravy over their stuffing, I say go for it! Life’s too short for boring sides.
For a family-style presentation, serve it directly from the baking dish. For fancier occasions, use a large spoon to create neat portions on individual plates.
Common Mistakes to Avoid
Using fresh bread is mistake number one. You need day-old, slightly stale bread that can absorb liquid without falling apart. Fresh bread turns to mush.
Skimping on the sautéing time for vegetables is another biggie. Those onions and celery need time to develop sweetness and lose their raw bite.
Over-mixing once you add the liquid can result in dense, gummy stuffing. Fold gently, you want to maintain some texture.
Not covering with foil during the last 15 minutes often leads to burnt tops and dried-out stuffing. Nobody wants that!
Storing Tips for the Recipe
This stuffing keeps beautifully! Store leftovers in the refrigerator for up to 4 days in an airtight container. To reheat, cover with foil and warm in a 350-degree oven for about 20 minutes.
Want to make it ahead? Absolutely! Assemble everything the day before, cover tightly, and refrigerate. Just add an extra 10-15 minutes to the baking time since you’re starting with a cold dish.
You can also freeze portions for up to 3 months. Thaw overnight in the refrigerator, then reheat as directed above.
Conclusion
This butter herb stuffing isn’t just a side dish, it’s a tradition waiting to happen in your kitchen. With its perfect balance of herbs, rich butter, and comforting bread, it’s the kind of recipe that brings people together around the table. If you’re looking for more Thanksgiving inspiration, check out our traditional Thanksgiving stuffing recipe for a different twist, or our chicken and stuffing casserole for a complete meal.
The best part? It’s totally foolproof once you know the tricks. So grab your apron, crank up some music, and let’s make some kitchen magic happen. I’d love to hear how your stuffing turns out, drop me a comment and share your experience!
FAQs
Can I make this stuffing gluten-free? Absolutely! Just substitute your favorite gluten-free bread. Make sure it’s a day old and slightly stale for best results.
What if I don’t have fresh herbs? You can use dried herbs, but reduce the quantities by half. Fresh really makes a difference in flavor, though!
Can I add nuts or dried fruit? Of course! Chopped walnuts, pecans, or dried cranberries make excellent additions. Add them in step 4 when combining everything.
How do I know when it’s done? The top should be golden brown and slightly crispy, while the center should be set but still moist when you insert a fork.
Can I double this recipe? Yes, but you’ll need two 9×13 pans or one very large roasting pan. Keep the baking time the same but check for doneness a bit earlier.