Sometimes the best recipes come from the most unexpected moments. I’ll never forget the afternoon my food truck, “The Cozy Fork,” completely ran out of our signature peach cobbler during a bustling farmer’s market in downtown Asheville. With a line of disappointed customers and nothing but basic pantry staples left, I frantically started throwing together whatever I could find. That’s when these incredible Lemon Crumb Bars were born. What started as a desperate attempt to salvage the day became one of my most requested recipes, and honestly, I think they’re even better than that cobbler ever was!
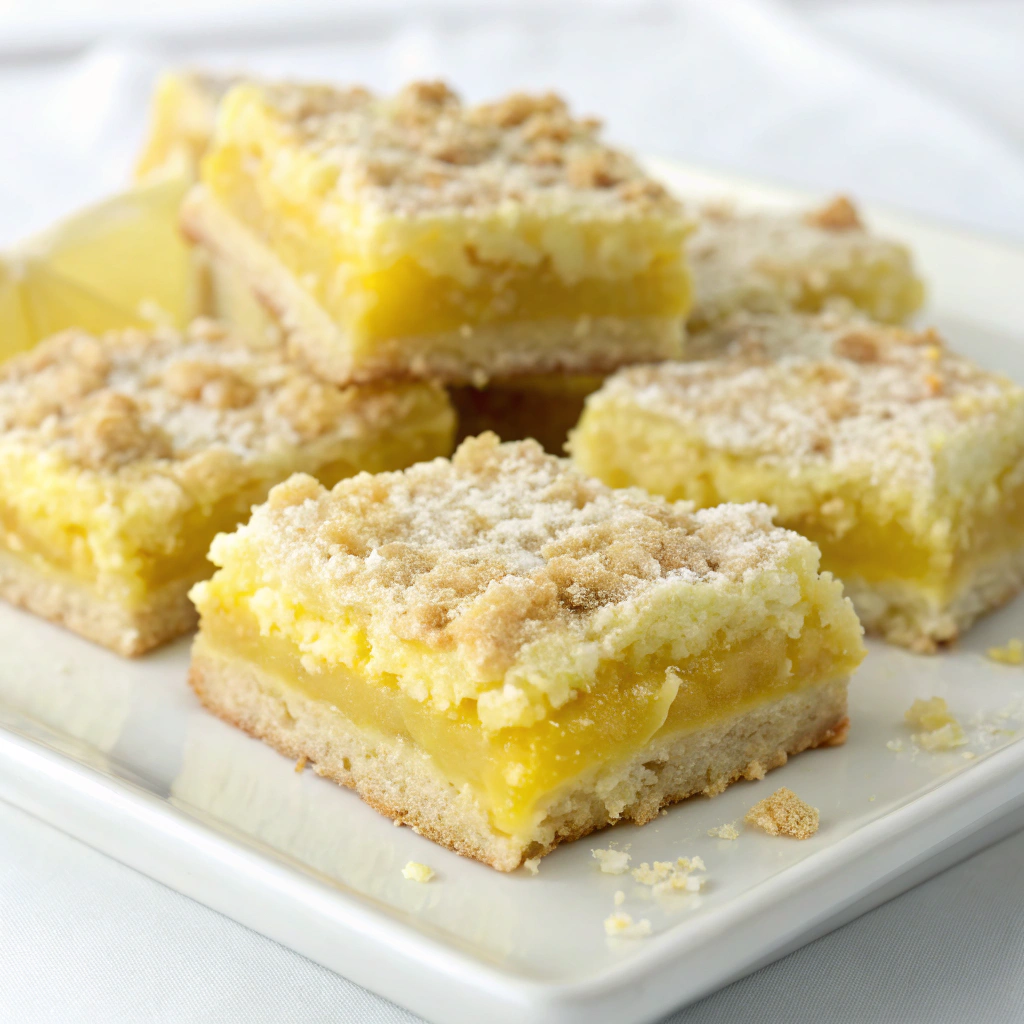
Table of Contents
The Story Behind Lemon Crumb Bars
You know how some recipes just find their way to you? That’s exactly what happened with these Lemon Crumb Bars. After that crazy farmer’s market day, I couldn’t stop thinking about how something so simple could taste so extraordinary. The combination of buttery oat crumbs and bright, tangy lemon filling reminded me of summer afternoons at my grandma’s house, where we’d sit on her porch with fresh-baked treats and tall glasses of sweet tea.
What I love most about these Lemon Crumb Bars is how they bridge the gap between fancy and familiar. They’re sophisticated enough for your next dinner party but comforting enough to pack in lunch boxes. That same balance of bright citrus and comforting texture is something I also aim for in my lemon brownies, where lemon takes center stage in a completely different but equally irresistible way.
The secret to these Lemon Crumb Bars lies in their beautiful contrast. The hearty oat crumble provides this wonderful texture that plays perfectly against the silky lemon curd filling. It’s like getting a warm hug and a burst of sunshine all in one bite. Trust me, once you try them, you’ll understand why customers at my food truck would drive miles just for another taste.
Ingredients List
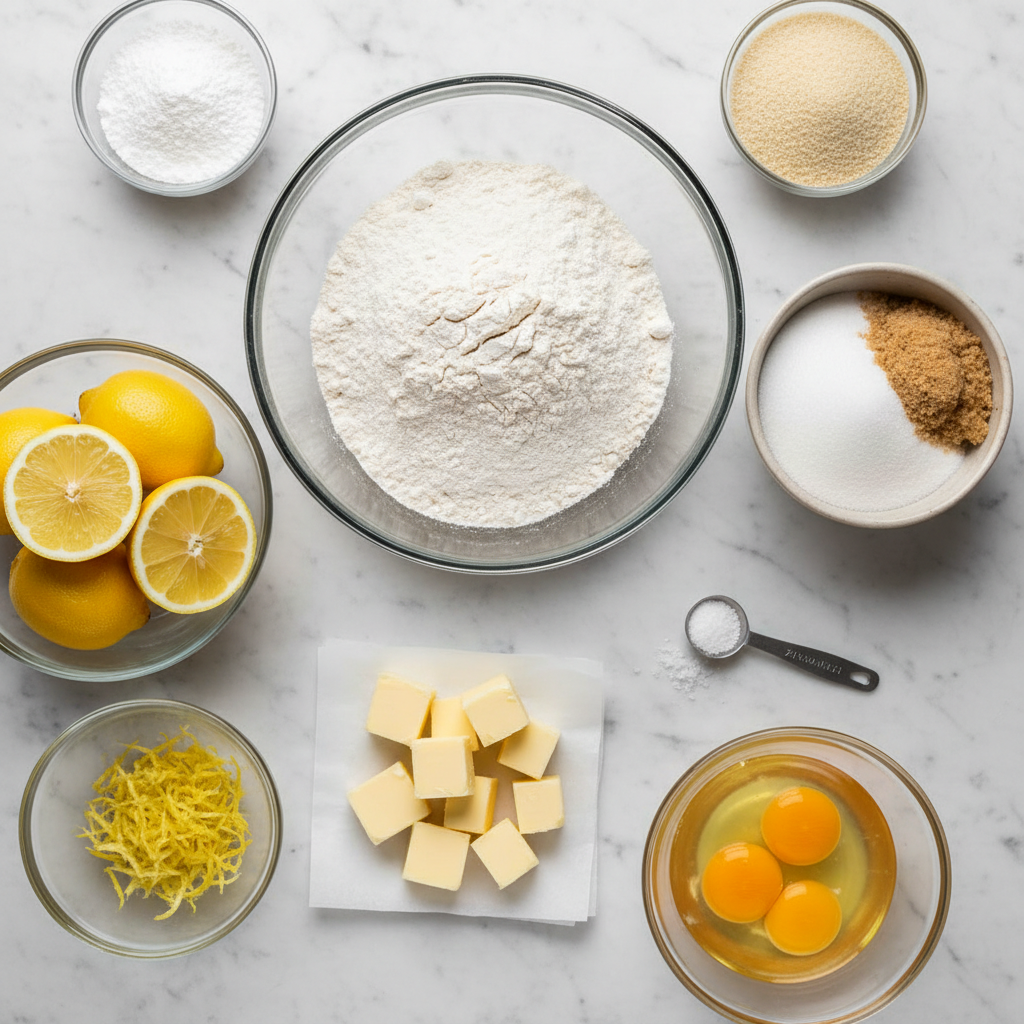
Let’s talk about what makes these bars so special. Each ingredient plays a crucial role in creating that perfect balance of flavors and textures:
For the Crumb Base and Topping:
- 1¼ cups all-purpose flour: This provides the foundation and structure for our crumb mixture
- 1¼ cups old-fashioned rolled oats: These add incredible texture and a subtle nutty flavor that complements the lemon beautifully
- ½ teaspoon salt: Don’t skip this! It brings out all the other flavors and prevents everything from tasting flat
- ½ teaspoon baking soda: Creates just a hint of lift in the crumb layers
- ½ cup granulated sugar: Adds sweetness and helps create that lovely golden color when baked
- ½ cup packed light brown sugar: The molasses notes add depth and help create tender, moist crumbs
- ¾ cup unsalted butter, melted: This binds everything together and creates those buttery, crispy edges we all love
- 1 teaspoon vanilla extract: A warm backdrop that makes all the other flavors pop
For the Lemon Filling:
- 1 (14 oz) can sweetened condensed milk: This creates the most luxurious, creamy base for our lemon curd
- 2 tablespoons finely grated lemon zest: Where the real lemon magic happens! This gives intense citrus flavor without adding extra liquid
- ½ cup fresh lemon juice: Please use fresh here. The bright acidity cuts through the richness perfectly
- 2 large egg yolks: These help the filling set properly and add richness
Timing
Here’s what makes these bars so weeknight-friendly: you’re looking at just 35-40 minutes total baking time with only 15 minutes of active prep. That’s roughly 30% faster than most bar cookie recipes! The beauty is in the simplicity. While your first layer bakes, you’ll whisk together the filling, and before you know it, you’re sliding that pan back into the oven.
Prep Time: 15 minutes
Cook Time: 35-37 minutes (15 minutes for the base + 20-22 minutes for the final bake)
Cooling Time: 2-3 hours (this is important for clean slices!)
Total Time: About 3 hours start to finish
Step-by-Step Instructions
Step 1: Get Your Oven Ready
Preheat your oven to 350°F (175°C) and grease that 8×8-inch baking pan generously with baking spray. I like to line mine with parchment paper too, leaving some overhang for easy removal later. It’s one of those small steps that makes your life so much easier!
Step 2: Create Your Dry Mix Magic
In a large bowl, whisk together the flour, oats, salt, and baking soda. Make sure everything’s evenly distributed because nobody wants a bite that’s all salt or all flour, right?
Step 3: Add the Sweet Stuff
Stir in both sugars until everything looks like a beautiful, speckled mixture. The brown sugar might clump a bit, and that’s totally fine. Just break up any big pieces with your fingers.
Step 4: Bring It Together with Butter
Pour in that melted butter and vanilla extract, then stir until the mixture looks like wet sand. You want it to hold together when you squeeze it in your hand but still feel crumbly. If it seems too dry, add another tablespoon of melted butter.
Step 5: Press and Bake the Base
Take half of this gorgeous crumb mixture and press it firmly into your prepared pan. I use the bottom of a measuring cup to really pack it down. Bake for exactly 15 minutes until it’s just starting to turn golden.
Step 6: Whip Up That Lemon Filling
While your base bakes, whisk together the condensed milk, lemon zest, lemon juice, and egg yolks until smooth. For tips on getting the most flavor with the least effort when preparing citrus zest, check out this efficient way to zest citrus guide, it’ll make your prep faster and your lemon notes brighter.
Step 7: Layer and Finish
Once your base is done, immediately pour the lemon filling over the hot crust. Then sprinkle the remaining crumb mixture evenly on top. Don’t worry about making it perfect; rustic looks are totally in!
Step 8: The Final Bake
Pop it back in the oven for 20-22 minutes, until the top is lightly golden and the filling looks set. It might jiggle just slightly in the center, but it’ll firm up as it cools.
Step 9: The Hardest Part While your base bakes, whi”Waiting”!
Let those bars cool completely at room temperature, then refrigerate for at least 2 hours before cutting. I know it’s torture, but trust me on this one. Cold bars slice so much cleaner than warm ones.
Nutritional Information
Each bar (based on 16 servings) contains approximately:
- Calories: 245
- Fat: 9g
- Saturated Fat: 6g
- Carbohydrates: 38g
- Fiber: 1.5g
- Sugar: 28g
- Protein: 4g
- Vitamin C: 8mg (thanks to that fresh lemon juice!)
The oats provide some beneficial fiber, while the lemon juice offers a small boost of vitamin C. These aren’t health bars by any means, but they’re certainly a more wholesome treat than many store-bought desserts!
Healthier Alternatives for the Recipe
Want to lighten things up without sacrificing flavor? Here are my go-to swaps:
Reduce Sugar: Cut both sugars by ¼ cup each. The condensed milk provides plenty of sweetness.
Boost Fiber: Replace ½ cup of the all-purpose flour with whole wheat pastry flour or oat flour.
Lower Fat Option: Use ½ cup melted butter instead of ¾ cup, and add 2-3 tablespoons of unsweetened applesauce.
Gluten-Free Version: Substitute the flour with a 1:1 gluten-free baking blend. Make sure your oats are certified gluten-free too.
Dairy-Free Twist: Coconut condensed milk works beautifully here, and you can use vegan butter for the crumb layers. If you enjoy dairy-free lemon desserts, you might also love my vegan lemon curd shortbread cookies, which deliver that same bright citrus flavor with a plant-based twist.
Serving Suggestions
These bars are incredibly versatile! Here’s how I love to serve them:
Classic Style: Cut into neat squares and dust with powdered sugar for an elegant presentation.
Summer Party: Serve alongside fresh berries and a dollop of whipped cream. The colors are absolutely stunning together.
Coffee Shop Vibes: Pair with a strong cup of coffee or Earl Grey tea. The citrus notes play beautifully with bergamot, especially when served alongside other lemon-forward treats like my lemon lavender cookies for a small dessert spread.
Kid-Friendly: Cut into fun shapes with cookie cutters and let little ones help with the powdered sugar dusting.
Fancy Dinner Party: Add a small scoop of vanilla ice cream and a sprig of fresh mint.
Common Mistakes to Avoid
After years of making these bars (and watching others make them), here are the pitfalls I see most often:
Skipping the Cooling Time: I get it, they smell amazing! But cutting them warm results in a gooey mess. Patience pays off here.
Bottled Lemon Juice: Fresh makes such a difference. Bottled lemon juice can taste artificial and won’t give you that bright, clean flavor.
Uneven Crumb Layer: Make sure to distribute both the bottom crust and top crumble evenly. Thin spots will burn while thick spots stay raw.
Overmixing the Filling: Whisk just until combined. Overmixing can make the filling tough and rubbery.
Wrong Pan Size: An 8×8 pan is crucial. A 9×9 will make them too thin, while anything smaller might cause overflow.
Storing Tips for the Recipe
These bars actually improve with time! Here’s how to keep them at their best:
Short-Term Storage: Cover tightly and refrigerate for up to 5 days. They’re honestly best on day 2 when all the flavors have melded together.
Freezing: Wrap individual bars in plastic wrap and freeze for up to 3 months. Thaw in the refrigerator overnight.
Room Temperature: They can sit out for a few hours during serving, but should return to the fridge afterward due to the dairy in the filling.
Make-Ahead Tip: These are perfect for meal prep! Make a batch on Sunday and enjoy throughout the week.
Conclusion
These Lemon Crumb Bars have become more than just a recipe to me; they’re a reminder that sometimes the best things come from unexpected moments. Whether you’re dealing with a dessert emergency like I was, or you simply want to brighten up your kitchen with something delicious, these bars deliver every single time.
The combination of buttery oat crumbs and bright lemon filling creates something truly special. Plus, they’re forgiving enough for beginners but impressive enough to wow your friends and family. So grab those lemons, preheat your oven, and get ready to fall in love with your new favorite dessert!
Ready to make some magic happen in your kitchen? Try these bars this weekend and let me know how they turn out. I’d love to hear your own stories about how this recipe finds its way into your family’s favorites!
Print
Lemon Crumb Bars Recipe
- Total Time: 3 hours
- Yield: 16 bars 1x
- Diet: Vegetarian
Description
Bright, buttery, and impossibly easy to make, these Lemon Crumb Bars combine a sweet oat crumble with tangy lemon curd filling. A perfect balance of texture and flavor, ideal for any season.
Ingredients
For the Crumb Base and Topping:
- 1¼ cups all-purpose flour
- 1¼ cups old-fashioned rolled oats
- ½ teaspoon salt
- ½ teaspoon baking soda
- ½ cup granulated sugar
- ½ cup packed light brown sugar
- ¾ cup unsalted butter, melted
- 1 teaspoon vanilla extract
For the Lemon Filling:
- 1 (14 oz) can sweetened condensed milk
- 2 tablespoons finely grated lemon zest
- ½ cup fresh lemon juice
- 2 large egg yolks
Instructions
1. Preheat oven to 350°F (175°C). Grease an 8×8-inch baking pan and line with parchment paper.
2. In a large bowl, whisk together flour, oats, salt, and baking soda until well combined.
3. Add both sugars and mix until evenly distributed. Break up brown sugar clumps with fingers if needed.
4. Pour in melted butter and vanilla. Stir until mixture resembles wet sand and clumps together when squeezed.
5. Press half the mixture firmly into the pan to form the base. Bake for 15 minutes.
6. While baking, whisk together sweetened condensed milk, lemon zest, lemon juice, and egg yolks until smooth.
7. Pour the lemon filling over the hot crust and spread evenly.
8. Sprinkle remaining crumb mixture over the filling.
9. Return to the oven and bake for 20–22 minutes, until top is lightly golden and center is set.
10. Cool completely at room temperature, then refrigerate for 2 hours before slicing.
Notes
- Use fresh lemon juice for the brightest flavor, bottled won’t cut it.
- Chilling is key to clean cuts. Let bars set completely before slicing.
- To double the recipe, use a 9×13 pan and increase each baking stage by ~5 minutes.
- Store leftovers covered in the fridge for up to 5 days or freeze individually for up to 3 months.
- Prep Time: 15 minutes
- Cook Time: 37 minutes
- Category: Dessert, Bars, Baking
- Method: Baked
- Cuisine: American
Nutrition
- Serving Size: 1 bar
- Calories: 245
- Sugar: 28g
- Sodium: 90mg
- Fat: 9g
- Saturated Fat: 6g
- Unsaturated Fat: 2g
- Trans Fat: 0g
- Carbohydrates: 38g
- Fiber: 1.5g
- Protein: 4g
- Cholesterol: 48mg
FAQs
Can I use quick oats instead of old-fashioned oats?
While you can substitute quick oats, old-fashioned oats provide better texture and hold up better during baking. Quick oats tend to get mushy and won’t give you those lovely crumbly bits we’re after.
How do I know when the bars are completely done?
The top should be lightly golden brown and the filling should be set but might still jiggle slightly in the very center. It’ll continue to firm up as it cools.
Can I double this recipe?
Absolutely! Use a 9×13 inch pan and increase the baking time by about 5 minutes for each stage. This gives you about 24 bars instead of 16.
Why do my bars fall apart when I cut them?
This usually means they weren’t chilled long enough before cutting. Try freezing them for 30 minutes before slicing, and use a sharp, clean knife, wiping it between cuts.
Can I add other citrus fruits?
Definitely! Lime works wonderfully, and orange creates a sweeter, milder flavor. Use the same amount of juice and zest as called for with lemons.