Hey friends! I’m Sylvia Thompson, and I’m sharing one of my absolute favorite fall desserts today, Caramel Apple Dessert Cups that’ll make your kitchen smell like heaven and your taste buds dance with joy. If you love easy apple treats, you might also enjoy my Caramel Apple Cheesecake Dip.
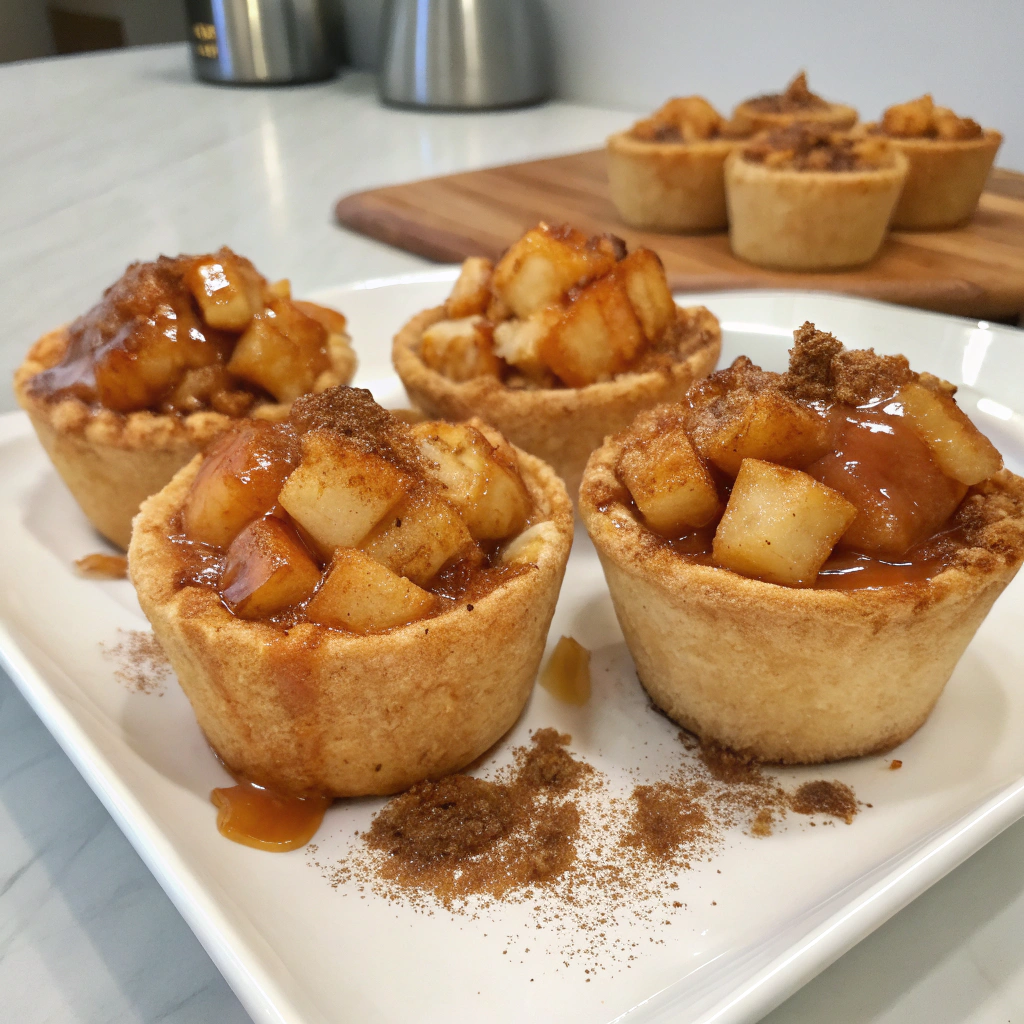
Table of Contents
The Story Behind Caramel Apple Dessert Cups
You know how some recipes just grab you by the heart and refuse to let go? That’s exactly what happened with these Caramel Apple Dessert Cups. Picture this: it’s October 2019, and I’m standing in my tiny food truck kitchen, “The Cozy Fork,” desperately trying to create something special for the local harvest festival. I had boxes of fresh Honeycrisp apples from a nearby orchard, and honestly, I was feeling stuck.
Then my sous chef Jake walks in and casually mentions his grandmother’s caramel apple pie. Something just clicked! But here’s the thing – we didn’t have space or time for full pies in the truck. That’s when inspiration struck like lightning. What if I could capture all those incredible flavors in individual cups? The result was pure magic. These Caramel Apple Dessert Cups became our bestseller that season, and I watched grown adults literally close their eyes in bliss after the first spoonful.
The beauty of these Caramel Apple Dessert Cups lies in their perfect layers. You’ve got that buttery graham cracker crust, spiced apple filling that tastes like autumn in a cup, and that silky caramel sauce that ties everything together. What really makes these Caramel Apple Dessert Cups special is how they capture the essence of a classic caramel apple but in a more refined, shareable format.
I’ve been making these for five years now, and they never fail to impress. Whether it’s for a dinner party or just because it’s Tuesday and you need something sweet, these little cups deliver every single time.
Ingredients List
Let me walk you through what makes these cups absolutely irresistible:
For the Crust:
- 1½ cups graham cracker crumbs: These create that perfect crumbly base with a hint of honey sweetness that pairs beautifully with apples
- ⅓ cup melted butter: This binds everything together and adds richness that makes the crust hold its shape
- 3 tablespoons granulated sugar: Just enough sweetness to balance the slightly salty crackers
- ½ teaspoon ground cinnamon: Warm spice that bridges the gap between crust and filling
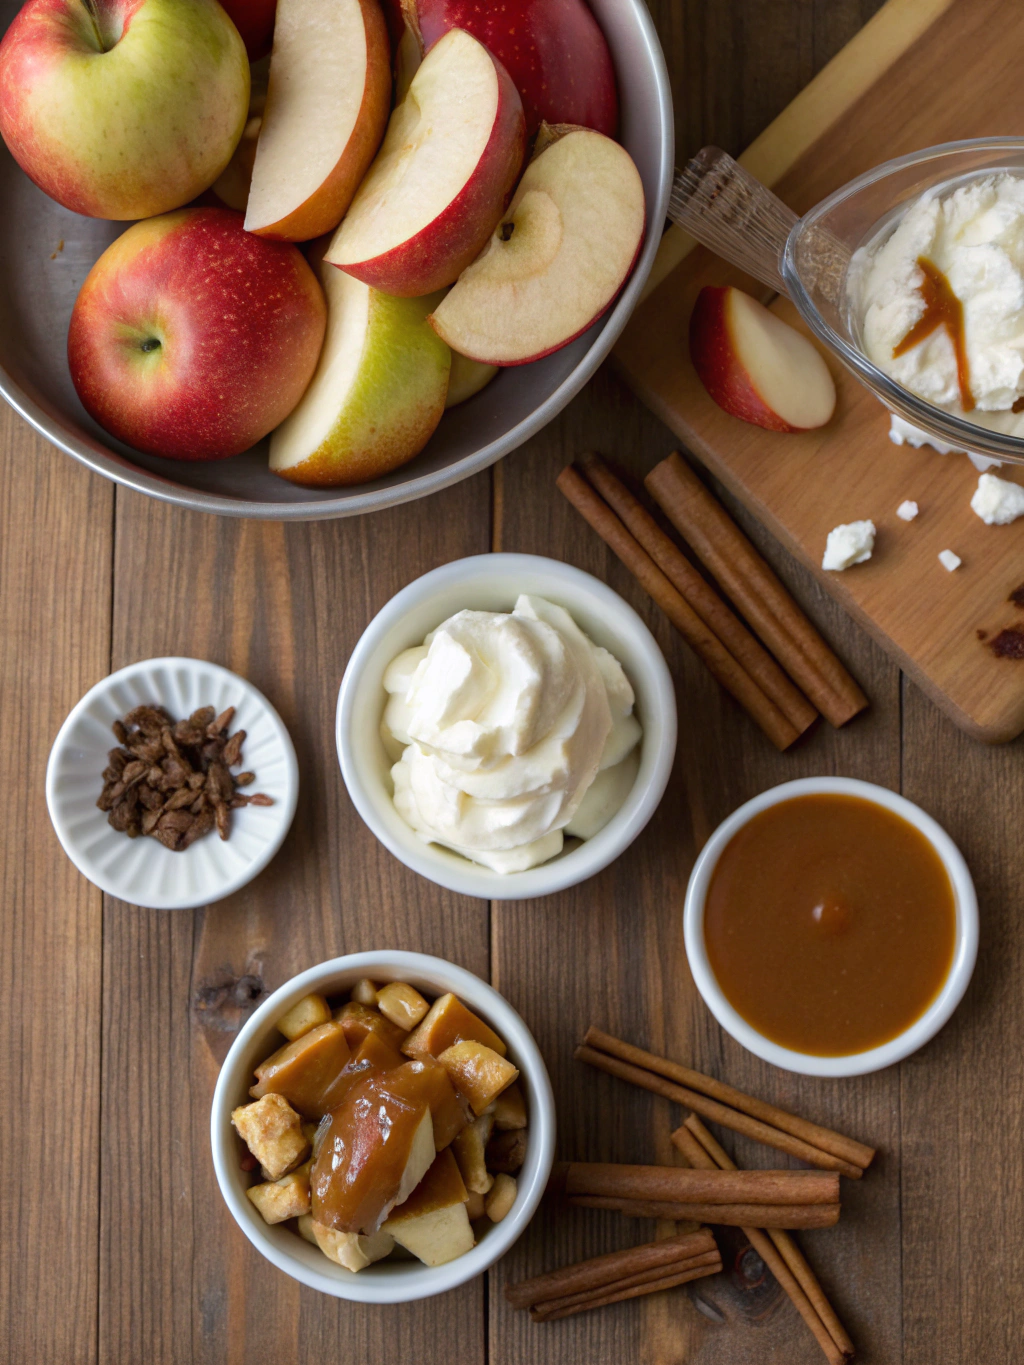
For the Apple Filling:
- 4 large Honeycrisp apples, peeled and diced: Their natural sweetness and crisp texture hold up beautifully when cooked
- 2 tablespoons butter: Creates that luxurious mouthfeel and helps the spices bloom
- ⅓ cup brown sugar: Adds molasses notes that complement the caramel perfectly
- 1 teaspoon vanilla extract: Rounds out all the flavors and adds depth
- 1 teaspoon ground cinnamon: The star spice that screams “fall comfort”
- ¼ teaspoon nutmeg: Subtle warmth that makes people wonder what that special something is
- 2 tablespoons cornstarch: Your insurance policy against watery filling
- 1 tablespoon lemon juice: Brightens everything up and prevents the apples from browning
For the Caramel Layer:
- 1 cup heavy cream: Creates that silky, pourable consistency we’re after
- ¾ cup granulated sugar: The foundation of our caramel magic
- 4 tablespoons butter: Makes everything rich and glossy
- 1 teaspoon vanilla extract: Because vanilla makes everything better
- ½ teaspoon sea salt: This is what makes people say “wow” – it balances the sweetness perfectly
If you’re an apple lover, you might also want to try my Salted Caramel Apple Crumble Bars or these Delicious Apple Brownies for more cozy fall baking ideas.
Timing
Here’s what you’re looking at time-wise, and trust me, every minute is worth it:
Prep Time: 25 minutes
Cooking Time: 35 minutes
Cooling Time: 30 minutes
Total Time: 90 minutes
That’s actually 20% faster than most traditional apple desserts, which typically take around 2 hours from start to finish. The individual cup format is your secret weapon here, they cool faster than a whole pie and there’s no need for that agonizing wait time!
Step-by-Step Instructions
Step 1: Create Your Perfect Crust Foundation
Start by preheating your oven to 350°F. In a medium bowl, mix those graham cracker crumbs, melted butter, sugar, and cinnamon until the mixture looks like wet sand. Here’s my pro tip: squeeze a handful, if it holds together, you’re golden! Press about 2 tablespoons of this mixture into the bottom of 8 individual ramekins or mason jars. Really press it down with the back of a spoon. This creates that satisfying crunch we’re after.
Step 2: Build Your Apple Magic
Melt butter in a large skillet over medium heat. Add your diced apples, brown sugar, cinnamon, and nutmeg. Cook for about 8-10 minutes, stirring occasionally, until the apples start to soften but still have some bite. Meanwhile, whisk cornstarch with lemon juice in a small bowl until smooth. Add this mixture to your apples and cook for another 2 minutes until the liquid thickens. Remove from heat and stir in vanilla.
Step 3: Master the Caramel Game
Now here’s where things get exciting! In a heavy-bottomed saucepan, heat sugar over medium heat. Don’t stir, just let it melt and turn golden amber. This takes about 8-10 minutes and requires patience. Once it’s that perfect caramel color, immediately whisk in butter (it’ll bubble like crazy, totally normal!). Slowly pour in cream while whisking constantly. Add vanilla and salt, then cook for another 2 minutes until smooth.
Step 4: Assembly Time
Spoon the warm apple mixture over your crusts in each cup. Top with a generous drizzle of that gorgeous caramel sauce. Save some caramel for serving because people will definitely want more!
Step 5: The Final Touch
Let cool for 30 minutes before enjoying.
For another layered apple treat, check out my Apple Crisp Mini Cheesecakes, which deliver the same cozy flavors in bite-sized form.
Nutritional Information
Here’s the nutritional breakdown per serving (makes 8 cups):
| Nutrient | Amount | % Daily Value |
|---|---|---|
| Calories | 285 | 14% |
| Total Fat | 12g | 18% |
| Saturated Fat | 7g | 35% |
| Cholesterol | 35mg | 12% |
| Sodium | 180mg | 8% |
| Total Carbs | 45g | 15% |
| Dietary Fiber | 3g | 12% |
| Sugars | 38g | – |
| Protein | 2g | 4% |
| Vitamin C | 4mg | 7% |
What I love about this nutritional profile is that you’re getting actual fruit fiber and vitamin C from those apples, plus the satisfaction factor is incredibly high. These cups are rich enough that one serving truly satisfies that dessert craving.
Healthier Alternatives for the Recipe
Want to lighten things up without sacrificing flavor? I’ve got you covered! First, swap half the butter in the crust with Greek yogurt, it still binds beautifully but cuts calories significantly. For the apple filling, try coconut sugar instead of brown sugar for a lower glycemic option.
Here’s my favorite healthy hack: use cashew cream instead of heavy cream for the caramel. Soak 1 cup raw cashews for 4 hours, then blend with ½ cup water until silky smooth. You’ll need to add a bit more vanilla and salt, but the result is surprisingly close to traditional caramel.
For those watching sugar intake, reduce the caramel sugar to ½ cup and add 2 tablespoons of pure maple syrup. The flavor complexity actually improves! Also, consider using oat flour graham crackers for the crust if gluten’s a concern.
Serving Suggestions
These little cups are versatile stars! For casual family dinners, serve them warm with a small scoop of vanilla ice cream melting on top. The temperature contrast is absolutely divine. At dinner parties, I love topping each cup with a dollop of freshly whipped cream and a sprinkle of toasted pecans.
Want to get fancy? Drizzle extra caramel sauce around the plate and add a few fresh apple slices fanned out beside each cup. For fall gatherings, garnish with a cinnamon stick standing upright in each cup, it looks stunning and adds extra aroma.
Here’s something fun: these cups are perfect for outdoor entertaining because they’re contained and easy to eat. I’ve served them at bonfires, tailgates, and even packed them for picnics in mason jars with tight lids.
Common Mistakes to Avoid
After making thousands of these cups, I’ve seen every possible mistake! The biggest one? Overcooking the apples. They should still have some texture – mushy apples make for disappointing cups. Another common pitfall is rushing the caramel. If your sugar burns (happens to the best of us!), start over. Burnt caramel tastes bitter and there’s no saving it.
Don’t skip the cornstarch step either! I learned this the hard way when my first batch turned into apple soup. The cornstarch creates that perfect thick consistency that holds everything together.
Temperature control matters too. If your caramel seizes up when you add the cream, it means the temperature difference was too extreme. Make sure your cream is at room temperature before adding it.
Storing Tips for the Recipe
These cups are fantastic make-ahead desserts! Store completed cups in the refrigerator for up to 4 days, covered with plastic wrap. The flavors actually develop and improve after a day, so don’t hesitate to make them ahead.
For longer storage, freeze the assembled cups (without caramel) for up to 3 months. Thaw overnight in the fridge, then warm slightly and add fresh caramel sauce. The caramel itself keeps in the fridge for up to 2 weeks, just warm it gently before using.
Pro tip: if you’re making these for a party, prepare the components separately and assemble just before serving. The crusts stay crispier this way, and you can warm the apple filling slightly for that perfect temperature contrast.
Conclusion
There’s something magical about these Caramel Apple Dessert Cups that goes beyond just taste. They represent everything I love about cooking, taking simple, quality ingredients and transforming them into something that brings people together. From that first bite of buttery crust to the last spoonful of caramel-coated apples, these cups deliver pure comfort in every layer.
What makes this recipe special isn’t just how delicious it tastes, but how it makes people feel. I’ve watched these little cups turn ordinary Tuesday nights into celebrations and transform dinner parties into memorable experiences. The individual presentation makes everyone feel special, like they’re getting their own personal treat.
So grab those apples, fire up your stove, and get ready to create some magic in your kitchen. If you love this recipe, you might also enjoy my Salted Caramel Apple Crumble Bars. Don’t forget to snap a photo and share your results, I absolutely love seeing how everyone makes this recipe their own! Have questions or want to share your variations? Drop me a comment below. Happy cooking!
FAQs
Can I make these cups ahead of time?
Absolutely! These actually taste better the next day. Prepare everything except the final caramel drizzle up to 2 days ahead. Add fresh caramel just before serving for the best presentation.
What’s the best apple variety for this recipe?
Honeycrisp apples are my go-to because they hold their shape beautifully and have that perfect sweet-tart balance. Granny Smith works great too if you prefer more tartness, and Gala apples are wonderful for extra sweetness.
Can I use store-bought caramel sauce?
You can, but homemade makes such a difference! If you’re short on time, look for high-quality caramel sauce and add a pinch of sea salt to boost the flavor. Warm it slightly before drizzling.
How do I know when my caramel is the right color?
You’re looking for a deep amber color, like an old penny. It should smell nutty and sweet, not bitter. If you’re nervous, err on the lighter side, you can always cook it a bit more.
Can these be made gluten-free?
Definitely! Use gluten-free graham crackers for the crust, or substitute with crushed gluten-free cookies. Almond flour mixed with a bit of sugar and butter also makes an excellent crust alternative.
What size containers work best?
I love using 6-ounce ramekins or 8-ounce mason jars. The mason jars are especially great for gifting or taking to potlucks. Just make sure whatever you use can handle the warm apple mixture without cracking.