You know what? Sometimes the simplest dishes hold the most precious memories. That’s exactly what happened when I first discovered the magic of Honey Glazed Carrots & Green Beans during my chaotic food truck days. Picture this: it’s a sweltering summer afternoon in downtown Asheville, and I’m scrambling to create a side dish that wouldn’t break the bank but would absolutely steal hearts. What started as a desperate attempt to use up wilting vegetables turned into one of my most requested recipes. Trust me, this Honey Glazed Carrots & Green Beans recipe will transform your dinner table and leave everyone asking for seconds!

The Story Behind Honey Glazed Carrots & Green Beans
Let me take you back to 2018, when I was running The Cozy Fork and learning that food truck life was basically organized chaos with a side of pure adrenaline. One particularly busy Saturday, I found myself staring at pounds of carrots and green beans that were perfectly good but wouldn’t last another day. My grandmother’s voice echoed in my head: “Sylvia, waste not, want not.” So there I was, honey jar in one hand, butter in the other, wondering if I could create something magical.
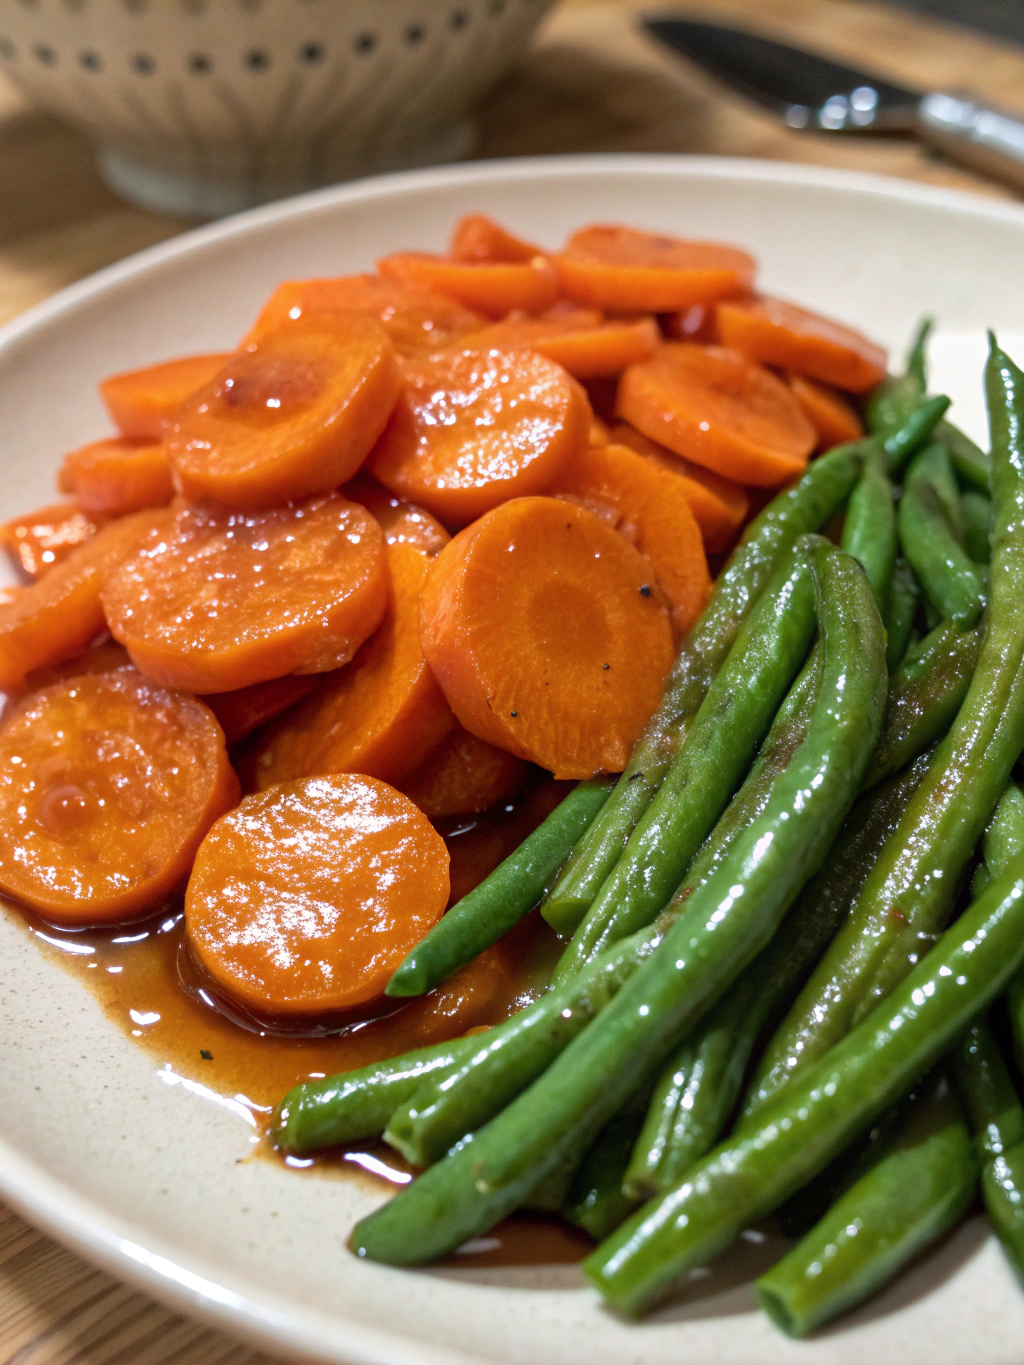
The first batch of Honey Glazed Carrots & Green Beans that emerged from my tiny truck kitchen was nothing short of a revelation. The natural sweetness of the honey played beautifully against the earthy carrots and crisp green beans, creating this gorgeous caramelized coating that made vegetables look like candy. Within an hour, I had a line of customers asking specifically for “those amazing glazed vegetables.” That day taught me that Honey Glazed Carrots & Green Beans weren’t just a side dish, they were a conversation starter, a memory maker, and proof that simple ingredients could create pure magic.
What makes this Honey Glazed Carrots & Green Beans recipe so special isn’t just the taste (though that’s pretty incredible). It’s the way the honey transforms ordinary vegetables into something that even the pickiest eaters will devour. I’ve watched kids who claim to hate vegetables clean their plates, and I’ve seen adults go back for thirds. The secret lies in that perfect balance of sweet and savory, with just enough butter to make everything silky and irresistible.
After five years of perfecting this recipe, I can confidently say that Honey Glazed Carrots & Green Beans have become my go-to side dish for everything from casual weeknight dinners to holiday feasts. There’s something deeply satisfying about watching carrots and green beans transform from simple vegetables into these glossy, caramelized gems that look like they belong in a fancy restaurant.
Ingredients List
Here’s what you’ll need to create this showstopping side dish:
1 pound fresh carrots, cut into 2-inch pieces – These orange beauties provide natural sweetness and that satisfying crunch. I prefer using rainbow carrots when available because they add gorgeous color variation, but regular orange carrots work perfectly too.
1 pound fresh green beans, trimmed – Look for bright green beans that snap crisply when bent. They bring a lovely earthy flavor and beautiful color contrast to balance the sweetness of the carrots.
3 tablespoons honey – This is your star player! Honey creates that gorgeous glaze and adds depth of sweetness that sugar simply can’t match. Local honey works wonderfully and supports your community beekeepers. Learn more about honey’s nutrition and why it’s healthier than refined sugar.
2 tablespoons unsalted butter – Butter adds richness and helps create that silky, glossy coating that makes these vegetables absolutely irresistible. Don’t even think about substituting margarine here!
1 tablespoon olive oil – This prevents the butter from burning and adds a subtle fruity note. Choose a good quality extra virgin olive oil for the best flavor.
2 cloves garlic, minced – Fresh garlic brings aromatic depth and a gentle bite that balances the sweetness beautifully. Pre-minced garlic from a jar won’t give you the same punch.
1 teaspoon fresh thyme leaves – Thyme adds an earthy, slightly floral note that makes this dish feel sophisticated. Fresh is definitely better than dried here.
Salt and freshly ground black pepper to taste – These basics bring out all the other flavors and create perfect balance. Always taste and adjust!
1 tablespoon fresh lemon juice – This bright acidic note prevents the dish from being too sweet and adds a fresh finish that makes everything pop.
Timing
Let’s talk timing because nobody wants to be stuck in the kitchen all day! This recipe is beautifully efficient:
Prep Time: 15 minutes – Most of this involves washing and trimming your vegetables. Pro tip: you can do this step earlier in the day and store everything in the fridge.
Cook Time: 12 minutes – That’s right, just 12 minutes from start to finish! This makes it perfect for busy weeknights when you need something fast but impressive.
Total Time: 27 minutes – Compared to roasted vegetables that can take 45 minutes or more, this recipe saves you about 40% of the time while delivering maximum flavor impact.
The beauty of this timing is that it perfectly matches most main courses. You can start these vegetables when your protein has about 15 minutes left to cook, and everything will be ready simultaneously.
Step 1: Prep Your Vegetables Like a Pro
Start by giving those carrots and green beans a good wash under cold running water. For the carrots, peel them if you prefer (though I often leave the skin on organic carrots for extra nutrients), then cut them diagonally into 2-inch pieces. Why diagonal? It creates more surface area for that gorgeous glaze to cling to! Trim the green beans by snapping off the stem ends – this is oddly therapeutic, so don’t rush it.
Step 2: Get Your Pan Nice and Hot
Heat that olive oil and one tablespoon of butter in a large skillet over medium-high heat. You want to hear a gentle sizzle when you add the vegetables, that’s how you know your pan is ready for action. If the butter starts browning too quickly, lower the heat a touch.
Step 3: Start with the Carrots
Add the carrots first since they need a bit more time to become tender. Cook them for about 4 minutes, stirring occasionally. You’ll notice they start to brighten in color and develop some beautiful caramelized edges. This is exactly what we want!
Step 4: Add the Green Beans to the Party
Toss in those gorgeous green beans and continue cooking for another 3-4 minutes. The vegetables should be crisp-tender, meaning they still have a slight bite but aren’t raw. Nobody wants mushy vegetables, right?
Step 5: Create the Magic Glaze
Here’s where things get exciting! Add the minced garlic and thyme, stirring for about 30 seconds until fragrant. Then drizzle in that beautiful honey and add the remaining tablespoon of butter. Watch as everything starts to glisten and caramelize, it’s absolutely mesmerizing!
Step 6: Bring It All Together
Toss everything together for another 2-3 minutes, allowing the honey to coat every single piece of vegetable. Season generously with salt and pepper, then finish with that bright squeeze of lemon juice. Taste and adjust – this is your moment to make it perfect!
Nutritional Information
Let’s talk numbers because knowing what you’re eating matters! This recipe serves 6 as a side dish, and each serving contains approximately:
| Nutrient | Amount per Serving |
|---|---|
| Calories | 95 |
| Total Fat | 4.2g |
| Saturated Fat | 2.1g |
| Carbohydrates | 16g |
| Dietary Fiber | 4g |
| Sugars | 12g |
| Protein | 2g |
| Sodium | 145mg |
| Vitamin A | 184% DV |
| Vitamin C | 15% DV |
| Vitamin K | 22% DV |
What’s really impressive here is that carrots are loaded with beta-carotene, which your body converts to vitamin A, that’s why you’re getting 184% of your daily value! Meanwhile, green beans contribute folate, vitamin K, and manganese. The honey provides quick energy, and the small amount of healthy fats from olive oil and butter help your body absorb those fat-soluble vitamins.
Healthier Alternatives for the Recipe
Want to lighten things up without sacrificing flavor? I’ve got you covered! You can easily swap the honey for pure maple syrup, use the same amount and you’ll get a slightly different but equally delicious flavor profile. For those watching their fat intake, reduce the butter to just one tablespoon and increase the olive oil slightly.
If you’re following a vegan lifestyle, simply replace the butter with vegan butter or additional olive oil. The results are still fantastic! For folks managing their sugar intake, try using sugar-free honey alternative, though you might want to add a pinch of stevia to maintain that sweetness level.
Here’s a fun twist: try adding a tablespoon of balsamic vinegar along with the lemon juice for a more complex flavor. Or toss in some toasted nuts like almonds or pecans during the last minute of cooking for extra crunch and healthy fats.
Serving Suggestions
These gorgeous Honey Glazed Carrots & Green Beans are incredibly versatile! They’re absolutely perfect alongside roasted chicken, grilled salmon, or a beautiful pork tenderloin. During the holidays, they make an stunning addition to your Thanksgiving or Christmas table, the colors alone will have your guests reaching for their phones to snap photos.
For a casual weeknight dinner, pair them with some garlic mashed potatoes and your favorite protein. They also work beautifully as part of a grain bowl, just serve them over quinoa or brown rice with some grilled tofu or chicken for a complete meal.
Want to make them the star of the show? Serve them warm over a bed of mixed greens with some crumbled goat cheese and toasted walnuts. Add a simple vinaigrette, and you’ve got an elegant salad that’s perfect for lunch or a light dinner.
Common Mistakes to Avoid
After making this recipe hundreds of times, I’ve seen every possible mistake, and learned from all of them! The biggest error people make is overcooking the vegetables. Remember, we want crisp-tender, not mushy. If your vegetables start looking dull instead of bright and vibrant, you’ve gone too far.
Another common pitfall is using too high heat when adding the honey. If your pan is screaming hot, that honey will burn faster than you can say “caramelized,” leaving you with bitter, burnt flavors instead of sweet perfection. Medium heat is your friend here.
Don’t skip the lemon juice! I know it seems like a small detail, but that acid is crucial for balancing the sweetness and preventing the dish from becoming cloying. Trust me on this one, it makes all the difference.
Finally, resist the urge to add the salt too early. Salt draws out moisture from vegetables, which can prevent proper caramelization. Season at the end for the best results.
Storing Tips for the Recipe
Good news – these vegetables reheat beautifully! Store any leftovers in an airtight container in the refrigerator for up to 4 days. When you’re ready to enjoy them again, simply reheat in a skillet over medium heat for 2-3 minutes, or pop them in the microwave for 30-45 seconds.
If you want to prep ahead (and who doesn’t love that?), you can wash, trim, and cut your vegetables up to 2 days in advance. Store them in separate containers in the fridge, and they’ll be ready to go when you need them.
Here’s a pro tip: you can even make the entire dish a day ahead and reheat it. The flavors actually develop and deepen overnight, making them even more delicious the next day. Just add a splash of water when reheating to prevent sticking.
Conclusion
There you have it, my tried-and-true recipe for Honey Glazed Carrots & Green Beans that has won over countless hearts (and stomachs) over the years. From that first experimental batch in my food truck to countless family dinners, this dish continues to prove that simple ingredients, when treated with love and care, can create something truly extraordinary.
What I love most about this recipe is how it transforms everyday vegetables into something special enough for company but simple enough for a Tuesday night. The combination of sweet honey, rich butter, and bright lemon creates layers of flavor that keep people coming back for more.
So grab those carrots and green beans, fire up your skillet, and get ready to create some delicious memories. Don’t forget to snap a photo and share your results – I absolutely love seeing how this recipe brings joy to kitchens across the country. Happy cooking, friends!
FAQs
Can I use frozen vegetables instead of fresh?
While fresh vegetables definitely give the best results, you can use frozen in a pinch. Just make sure to thaw and drain them thoroughly first, and reduce the cooking time by about 2 minutes since they’re partially cooked already.
How do I know when the vegetables are perfectly cooked?
They should be bright in color and crisp-tender when pierced with a fork. You should still feel a slight resistance when biting into them, they shouldn’t be soft or mushy.
Can I make this recipe ahead for a dinner party?
Absolutely! You can make this dish up to 4 hours ahead and reheat it gently on the stove. Just add a tablespoon of water when reheating to help restore the glaze.
What other vegetables work well with this honey glaze?
Brussels sprouts, asparagus, and parsnips all work beautifully with this treatment. Just adjust the cooking times accordingly, Brussels sprouts need a bit longer, while asparagus cooks much faster.
Is there a way to make this dish less sweet?
Sure! Reduce the honey to 2 tablespoons and add an extra tablespoon of lemon juice. You could also add a pinch of red pepper flakes for a subtle heat that balances the sweetness.
Can I double this recipe for a large crowd?
Definitely! Just make sure you use a large enough skillet or cook in two batches. Overcrowding the pan will cause the vegetables to steam rather than caramelize, and we definitely don’t want that.