Table of Contents
Picture this: it’s October 2019, and I’m standing in my food truck “The Cozy Fork” with a mountain of slightly bruised apples from the local farmer’s market. You know how it is when you buy too much produce because it looks gorgeous, but then reality hits? That was me, staring at these beautiful but imperfect apples, wondering what on earth I was going to do with them all.
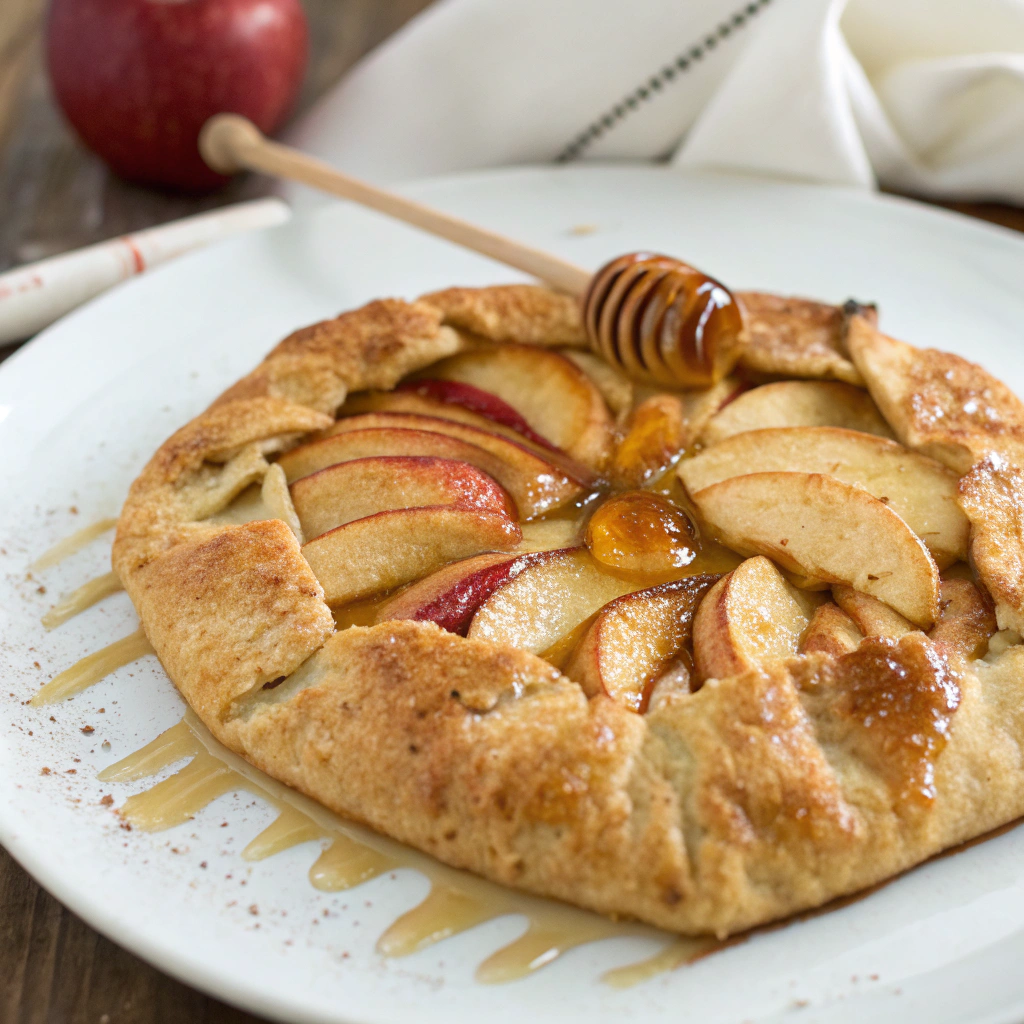
That’s when my Honey Apple Galette was born out of pure necessity and a dash of creativity. I remembered watching a French chef on YouTube casually folding pastry around fruit like it was no big deal, and I thought, “Why not?” Instead of his traditional approach, though, I decided to drizzle honey over everything because, honestly, honey makes everything better.
The first Honey Apple Galette that came out of my tiny truck oven was far from perfect. Actually, it looked pretty rustic (which is chef-speak for “slightly messy”). But when I cut into it and tasted that combination of flaky pastry, tender apples, and golden honey, I knew I’d stumbled onto something special. By the end of that day, word had spread, and I had a line of customers asking specifically for my Honey Apple Galette.
What I love most about this Honey Apple Galette recipe is how forgiving it is. Remember when I mentioned that cooking should be more about friendly suggestions than rigid rules? This dessert embodies that philosophy perfectly. Whether your pastry edges are perfectly pleated or look like they were folded by a sleepy toddler, this galette will still taste incredible. If you love rustic desserts like this, you’ll probably also enjoy my Classic Cherry Cheesecake or my Pumpkin Mousse, both cozy favorites for fall.
Ingredients
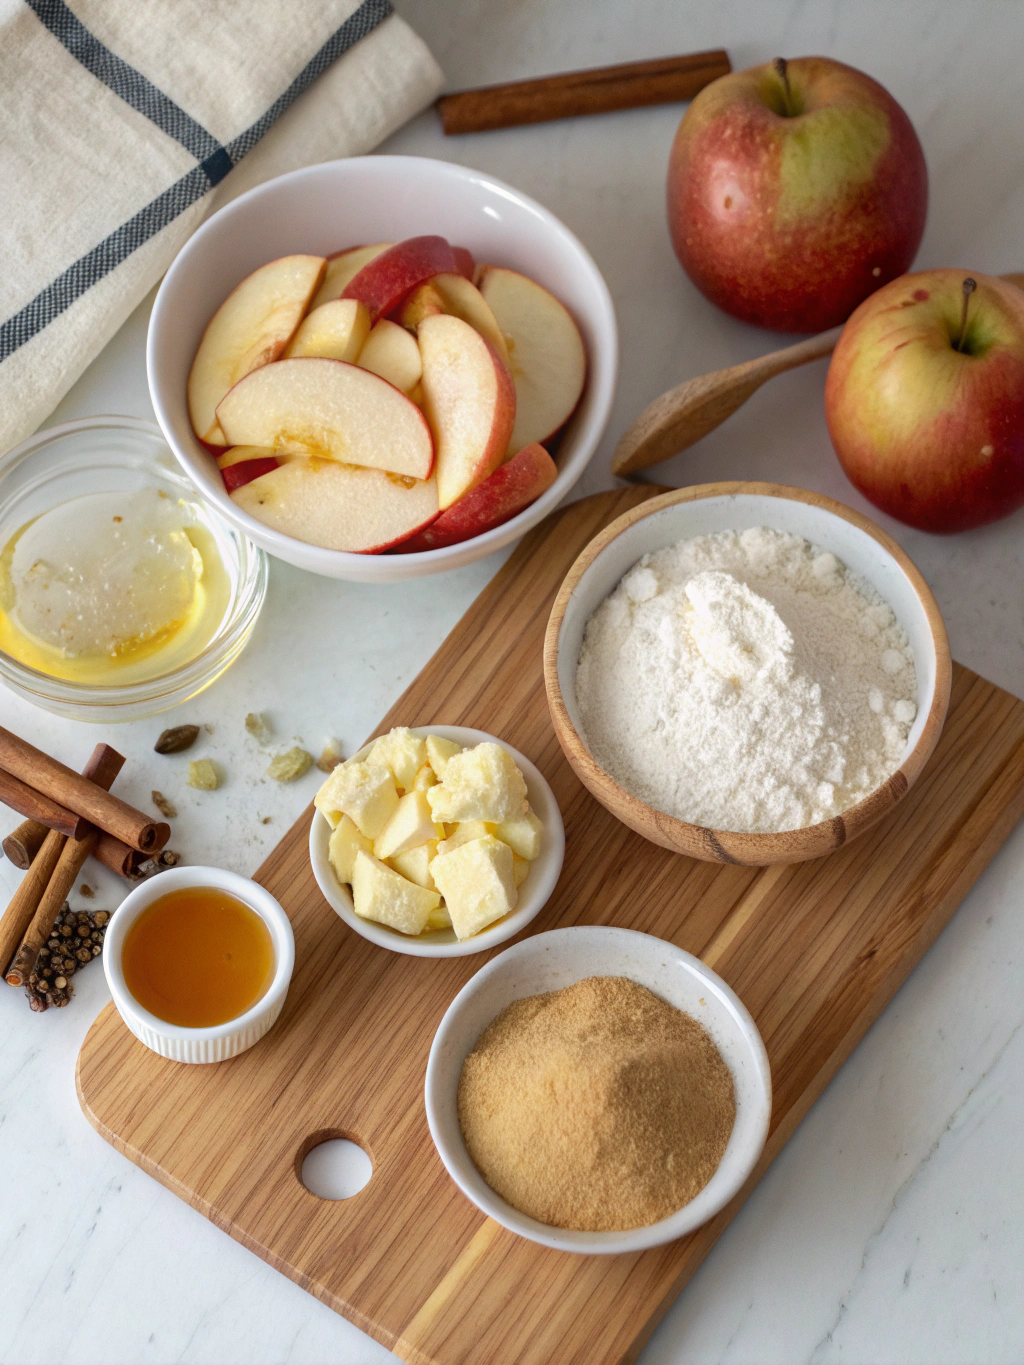
Here’s what you’ll need to create this show-stopping dessert:
For the pastry:
- 1¼ cups all-purpose flour : This creates the foundation and structure
- ½ teaspoon salt : Balances sweetness and strengthens gluten
- 8 tablespoons cold unsalted butter, cubed : Provides flakiness and rich flavor
- 3-4 tablespoons ice water : Brings the dough together without making it tough
For the filling:
- 4-5 medium apples (Honeycrisp or Granny Smith work beautifully) : The star of the show
- ⅓ cup honey : Adds natural sweetness and creates a gorgeous glaze
- 2 tablespoons cornstarch : Prevents a soggy bottom by thickening fruit juices
- 1 teaspoon vanilla extract : Adds warmth and depth
- ½ teaspoon cinnamon : Classic apple pairing that adds cozy spice
- ¼ teaspoon nutmeg : Subtle warmth that complements the honey
- 1 tablespoon lemon juice : Prevents browning and adds bright acidity
- 1 egg, beaten : For that golden, bakery-worthy finish
Each ingredient plays a crucial role. The cold butter creates steam pockets as it melts, giving you those coveted flaky layers. Meanwhile, the honey doesn’t just sweeten; it caramelizes slightly during baking, creating complex flavors that regular sugar simply can’t match.
Timing
Here’s your timeline breakdown:
- Prep time: 25 minutes
- Chilling time: 30 minutes
- Baking time: 35-40 minutes
- Total time: 90 minutes
Interestingly, this timing makes it about 25% faster than traditional apple pie since there’s no top crust to worry about. Plus, you can prep the dough up to two days ahead, which cuts your active time on serving day to just 15 minutes. For another easy make-ahead dessert, try my Cranberry and Brie Tartlets, just as impressive, but even faster to prepare.
Step 1: Make the Pastry Dough
Start by whisking flour and salt in a large bowl. Cut in cold butter using a pastry cutter or your fingers until the mixture looks like coarse crumbs with some pea-sized butter pieces. This texture is your secret to flaky pastry! Gradually add ice water, one tablespoon at a time, until the dough just comes together. Don’t overwork it, we want tender, not tough.
Step 2: Chill and Roll
Wrap your dough in plastic wrap and refrigerate for at least 30 minutes. This step isn’t optional, it prevents shrinking and makes rolling so much easier. On a floured surface, roll the dough into a 12-inch circle. Don’t stress about perfect edges; rustic is the goal here!
Step 3: Prepare Your Apples
While the dough chills, peel and slice apples into ¼-inch thick pieces. Toss them with honey, cornstarch, vanilla, cinnamon, nutmeg, and lemon juice. The cornstarch is crucial here, it’ll absorb those delicious apple juices and prevent a soggy bottom.
Step 4: Assemble the Galette
Transfer your rolled dough to a parchment-lined baking sheet. Arrange apple slices in overlapping circles, leaving a 2-inch border. Here’s where the magic happens: fold those pastry edges up and over the apples, pleating as you go. Each fold should overlap slightly with the next.
Step 5: Add the Finishing Touches
Brush the pastry edges with beaten egg for that gorgeous golden color. Drizzle any remaining honey over the exposed apples. This creates those beautiful caramelized spots that make your galette look bakery-professional.
Step 6: Bake to Perfection
Bake at 400°F for 35-40 minutes until the crust is golden brown and apples are tender. The honey should be bubbling slightly, creating that irresistible caramelized aroma that’ll have your neighbors asking what smells so amazing. You can serve it warm with ice cream or pair it with my Sweet Potato Bliss Bites for the ultimate cozy dessert board.
Nutritional Information
Per serving (serves 8):
- Calories: 285
- Carbohydrates: 45g
- Fat: 12g
- Protein: 4g
- Fiber: 3g
- Sugar: 22g (primarily from natural honey and apples)
- Sodium: 150mg
The honey provides antioxidants and minerals that refined sugar lacks, while apples contribute fiber and vitamin C. Compared to traditional apple pie, this galette contains about 30% fewer calories per serving due to the single crust. Learn more about health benefits of apples.
Healthier Alternatives for the Recipe
Want to make this treat even more nutritious? Try these swaps:
For the crust: Substitute half the all-purpose flour with whole wheat pastry flour for added fiber and nutrients. You can also replace butter with coconut oil for a dairy-free version.
For the sweetener: Reduce honey to ¼ cup and add 2 tablespoons of pure maple syrup instead. Both options provide minerals and antioxidants while maintaining that rich, complex sweetness.
Boost the nutrition: Add 2 tablespoons of chopped walnuts or pecans for healthy fats and protein. A tablespoon of chia seeds mixed with the apples adds omega-3s without affecting taste.
Lower sugar option: Use naturally sweet apples like Fuji or Gala and reduce honey to 3 tablespoons. The fruit’s natural sugars will still create a delicious dessert.
Serving Suggestions
This galette shines in so many ways! Serve it warm with a scoop of vanilla ice cream for the classic approach, or try these creative options:
For breakfast: Pair a smaller slice with Greek yogurt and a drizzle of extra honey. It’s like having apple pie for breakfast, but totally acceptable!
Elegant dinner party: Serve with a dollop of mascarpone mixed with a touch of cinnamon and vanilla. The creamy richness complements the honey beautifully.
Casual gathering: Cut into squares and serve as handheld treats. They’re perfect for potlucks (remember those sacred Midwest gatherings from my childhood?).
Seasonal twist: During fall, serve alongside hot apple cider or chai tea. The spices echo beautifully between the drink and dessert.
You can even feature it as part of a dessert table with my Goat Cheese Appetizer with Fig Jam & Pecans and Cranberry Cream Cheese Crescent Bites, they make a stunning spread together.
Common Mistakes to Avoid
After making hundreds of galettes in my food truck, I’ve seen these pitfalls repeatedly:
Soggy bottom syndrome: Always use cornstarch with juicy fruits. Also, avoid overloading with apples, less is more for structural integrity.
Tough pastry: Keep everything cold and don’t overwork the dough. If your kitchen is warm, pop the assembled galette in the fridge for 15 minutes before baking.
Burned edges: If the crust browns too quickly, cover edges with foil strips halfway through baking. Every oven runs differently, so keep an eye on things.
Uneven cooking: Slice apples uniformly for consistent cooking. Thick pieces will be crunchy while thin ones turn mushy.
Storing Tips for the Recipe
Fresh galette keeps covered at room temperature for up to 2 days, though it’s honestly best within 24 hours. For longer storage, refrigerate for up to 5 days.
Freezing instructions: Wrap cooled galette tightly in plastic wrap, then foil. It’ll keep frozen for up to 3 months. Thaw overnight in the refrigerator and reheat at 350°F for 10 minutes to crisp the crust.
Make-ahead strategy: Prepare the dough up to 2 days ahead and keep refrigerated. You can even assemble the entire galette and freeze it unbaked. Just add 10-15 extra minutes to baking time when cooking from frozen.
Reheating magic: Warm leftover slices in a 350°F oven for 5-7 minutes rather than microwaving. This restores the crust’s crispness beautifully.
Conclusion
This Honey Apple Galette represents everything I love about cooking: it’s approachable, forgiving, and absolutely delicious. From those early days of experimenting in my food truck to now sharing it with you, this recipe has brought joy to countless people.
The beauty lies in its simplicity and rustic charm. You don’t need perfect technique or fancy equipment, just good ingredients and a willingness to embrace the beautiful imperfection of homemade pastry. Whether you’re a seasoned baker or someone who’s intimidated by pastry, this galette will build your confidence and satisfy your sweet tooth.
So grab those apples, roll up your sleeves, and get ready to fill your kitchen with the most incredible aromas. I’d love to hear how your galette turns out, tag me on social media or drop a comment below with your results!
Print
Honey Apple Galette
- Total Time: 90 minutes
- Yield: 8 servings 1x
- Diet: Vegetarian
Description
This rustic Honey Apple Galette is a flaky, golden tart filled with tender apples and sweet honey. Easier than pie and full of cozy fall flavor, it’s a perfect make-ahead dessert.
Ingredients
For the pastry
- 1¼ cups all-purpose flour
- ½ teaspoon salt
- 8 tablespoons cold unsalted butter, cubed
- 3–4 tablespoons ice water
For the filling
- 4–5 medium apples (Honeycrisp or Granny Smith)
- ⅓ cup honey
- 2 tablespoons cornstarch
- 1 teaspoon vanilla extract
- ½ teaspoon cinnamon
- ¼ teaspoon nutmeg
- 1 tablespoon lemon juice
- 1 egg, beaten (for brushing)
Instructions
1. Whisk flour and salt. Cut in butter until mixture resembles coarse crumbs. Gradually add ice water until dough comes together.
2. Wrap dough in plastic wrap. Chill for 30 minutes. Roll into a 12-inch circle on floured surface.
3. Peel and slice apples. Toss with honey, cornstarch, vanilla, cinnamon, nutmeg, and lemon juice.
4. Transfer rolled dough to parchment-lined baking sheet. Arrange apples in overlapping circles, leaving a 2-inch border. Fold dough over apples.
5. Brush edges with beaten egg. Drizzle remaining honey over apples.
6. Bake at 400°F for 35–40 minutes until crust is golden and apples are tender.
Notes
You can make the dough up to 2 days ahead. For extra texture, sprinkle sliced almonds or chopped nuts on the apples before folding the crust. Serve warm with vanilla ice cream or mascarpone.
- Prep Time: 25 minutes
- Cook Time: 40 minutes
- Category: Dessert
- Method: Baking
- Cuisine: French-American
Nutrition
- Serving Size: 1 slice
- Calories: 285
- Sugar: 22g
- Sodium: 150mg
- Fat: 12g
- Saturated Fat: 7g
- Unsaturated Fat: 4g
- Trans Fat: 0g
- Carbohydrates: 45g
- Fiber: 3g
- Protein: 4g
- Cholesterol: 35mg
FAQs
Can I use different types of apples?
Absolutely! Honeycrisp and Granny Smith are my favorites for their balance of sweet and tart, plus they hold their shape well. Avoid very soft apples like Red Delicious, which can turn mushy.
What if I don’t have honey?
Maple syrup works wonderfully as a substitute, or you can use ¼ cup brown sugar mixed with 2 tablespoons of water for a similar consistency.
Can this be made gluten-free?
Yes! Substitute the all-purpose flour with a 1:1 gluten-free baking flour blend. The texture will be slightly different but still delicious.
Why is my galette leaking?
This usually happens when there’s too much filling or the dough has tears. Make sure to patch any cracks and don’t overfill with apples.
How do I know when it’s done?
The crust should be golden brown and the apples tender when pierced with a fork. The honey should be bubbling and slightly caramelized around the edges.