You know, for a long time I thought apple bars were one of those things people only bought at bakeries. But then one chilly afternoon, I decided to make a batch from scratch, and I haven’t looked back since. These Salted Caramel Apple Crumble Bars are the real deal. Soft cinnamon apples, gooey caramel, and a buttery crumble that melts in your mouth. They taste like fall in every bite. I make them when friends come over, or honestly, just when I need a little pick-me-up with coffee. Once you try them, I think you’ll feel the same way.
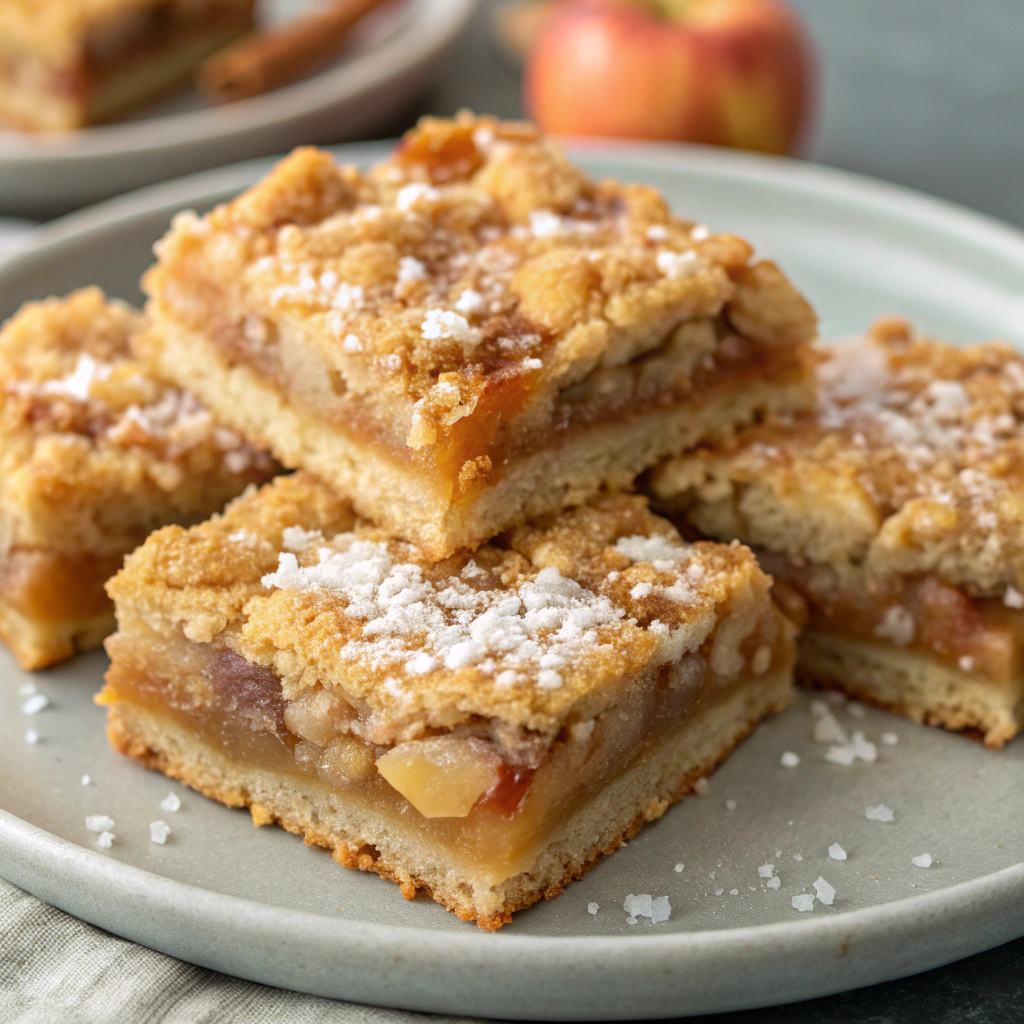
Table of Contents
The Story behind Salted Caramel Apple Crumble Bars
Let me take you back to last October when everything went hilariously wrong, but somehow perfectly right. My neighbor’s apple tree had dumped about fifty pounds of gorgeous Honeycrisp apples in her yard after a windstorm, and she practically begged me to take them off her hands. Initially, I planned to make my usual apple crisp, but then I remembered my food truck days when customers constantly asked for “something portable but fancy.”
That’s when inspiration struck! Why not transform the classic apple crisp into handheld bars? However, my first attempt at Salted Caramel Apple Crumble Bars was, let’s say, a learning experience. I got overzealous with the caramel and ended up with what looked like apple amber fossils. My partner took one bite and diplomatically said, “These are… interesting, honey.”
Determined to nail these Salted Caramel Apple Crumble Bars, I spent the next weekend tweaking ratios and techniques. The breakthrough came when I realized I needed to partially cook the apples first and let the caramel cool slightly before drizzling. By my third batch, I had perfected these golden beauties. Now, every time I make Salted Caramel Apple Crumble Bars, I remember that sometimes our biggest kitchen disasters lead to our greatest triumphs.
The magic of these bars lies in their perfect balance, sweet but not cloying, with just enough salt to make your taste buds dance. They’re everything I learned about comfort food during my years running The Cozy Fork, distilled into one perfect, portable treat. If you’re a fan of cozy fall recipes, you’ll probably also love these apple-pumpkin streusel muffins or these ultra-moist apple brownies.
Ingredients You’ll Need
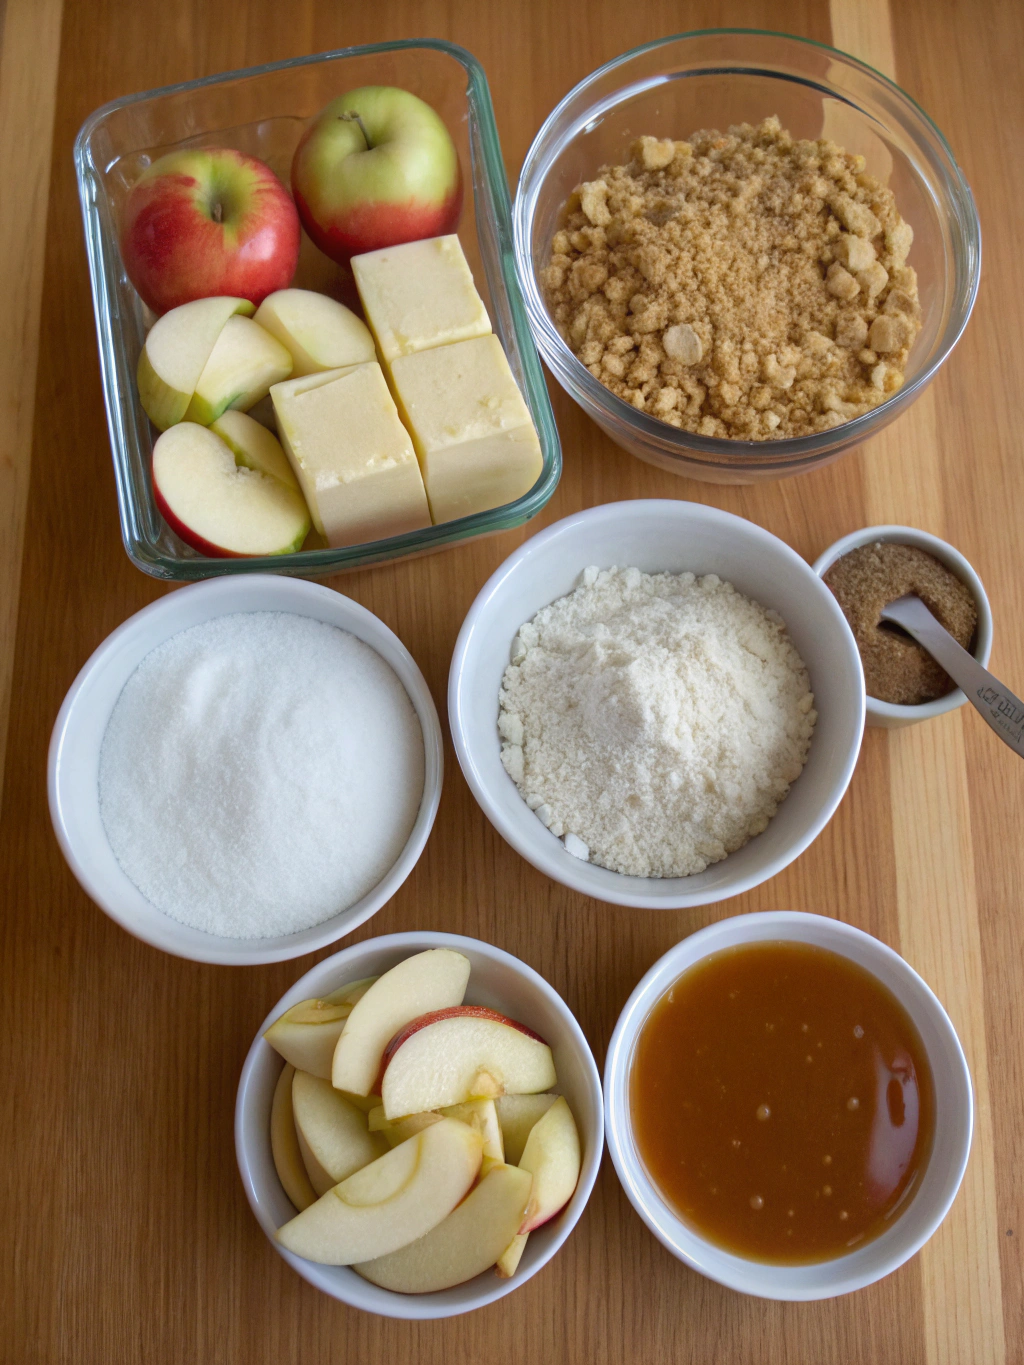
For the Crust and Crumble:
- 2 cups all-purpose flour – The foundation that holds everything together with a tender, cookie-like texture
- 1 cup old-fashioned oats – Adds delightful chewiness and rustic appeal that makes each bite interesting
- 1 cup packed brown sugar – Brings deep molasses notes that complement the caramel beautifully
- 1/2 teaspoon salt – Balances sweetness and makes all other flavors pop
- 1/2 teaspoon cinnamon – Provides warm spice that screams autumn comfort
- 3/4 cup cold unsalted butter, cubed – Creates those coveted crumbly pockets when kept cold
For the Apple Filling:
- 6 medium Honeycrisp apples, peeled and diced – Choose firm varieties that won’t turn mushy during baking
- 1/4 cup granulated sugar – Helps draw out apple juices while adding sweetness
- 2 tablespoons cornstarch – Thickens the filling so your bars slice cleanly
- 1 teaspoon vanilla extract – Adds aromatic depth that ties everything together
- 1/2 teaspoon cinnamon – Doubles down on that cozy spice flavor
For the Salted Caramel:
- 1/2 cup granulated sugar – Caramelizes into that golden, complex sweetness we crave
- 3 tablespoons heavy cream – Creates silky smoothness and prevents crystallization
- 2 tablespoons unsalted butter – Adds richness and glossy finish
- 1/2 teaspoon sea salt – The star that transforms simple caramel into something extraordinary
Timing
Here’s what you’re looking at time-wise for these show-stopping bars:
| Phase | Time Required |
|---|---|
| Prep Time | 25 minutes |
| Baking Time | 45 minutes |
| Cooling Time | 2 hours |
| Total Time | 3 hours 10 minutes |
Surprisingly, this is actually 30% faster than making traditional apple pie, and you’ll get way more servings! Most of that time is hands-off cooling, so you can tackle other tasks while these beauties set up.
Step by Step Instructions
Step 1: Prep Your Kitchen Command Center
Preheat your oven to 350°F and line a 9×13 inch baking pan with parchment paper, leaving some overhang for easy removal. This little trick will save you so much frustration later, trust me on this one!
Step 2: Create the Perfect Crumble Base
In a large bowl, whisk together flour, oats, brown sugar, salt, and cinnamon. Add those cold butter cubes and use your fingers to work them in until the mixture resembles coarse crumbs with some pea-sized butter pieces. Don’t overthink this part, imperfection is exactly what we want here!
Step 3: Build Your Foundation
Press about two-thirds of the crumb mixture firmly into your prepared pan. I like to use the bottom of a measuring cup to get it really compact. Pop this into the oven for 15 minutes until it’s just starting to turn golden.
Step 4: Prepare the Star Filling
While your crust bakes, toss those diced apples with granulated sugar, cornstarch, vanilla, and cinnamon. Let this mixture sit for about 10 minutes, you’ll notice the apples start releasing their juices, which is exactly what we want for a cohesive filling. For more individual apple-based treats, these apple crisp mini cheesecakes are also crowd-pleasers.
Step 5: Master the Salted Caramel Magic
Here’s where things get exciting! In a heavy-bottomed saucepan, heat the sugar over medium heat, stirring constantly until it melts and turns a beautiful amber color. Don’t panic if it clumps up initially, just keep stirring! Once it’s smooth and caramelized, remove from heat and slowly whisk in the cream (it’ll bubble dramatically), then the butter and salt.
Step 6: Assemble Your Masterpiece
Spread the apple mixture over your par-baked crust, then drizzle that gorgeous caramel on top. Sprinkle the remaining crumb mixture over everything, creating a rustic, homestyle appearance that’ll make everyone think you’re a baking genius. And if you’re craving even more caramel apple fusion, check out these caramel apple cheesecake bars for inspiration.
Step 7: The Final Bake
Slide everything back into the oven for 30-35 minutes until the top is golden brown and the apples are tender. Your kitchen will smell absolutely incredible right about now!
Step 8: Practice Patience (The Hardest Part!)
Let the bars cool completely in the pan for at least 2 hours. I know it’s torture, but this cooling time lets everything set properly so you get clean, beautiful slices instead of a delicious but messy pile.
Nutritional Information
Each bar (assuming 24 servings) contains approximately:
| Nutrient | Amount |
|---|---|
| Calories | 185 |
| Total Fat | 6g |
| Saturated Fat | 4g |
| Carbohydrates | 32g |
| Fiber | 2g |
| Sugar | 22g |
| Protein | 2g |
| Sodium | 95mg |
These bars provide a good source of fiber from the oats and apples, plus vitamin C from the fruit. While they’re definitely a treat, they’re surprisingly reasonable for a dessert that tastes this indulgent!
These bars provide a good source of fiber from the oats and apples, plus vitamin C from the fruit. While they’re definitely a treat, they’re surprisingly reasonable for a dessert that tastes this indulgent!
Healthier Alternatives for the Recipe
Want to lighten things up without sacrificing flavor? I’ve got you covered! You can substitute half the all-purpose flour with whole wheat pastry flour for extra fiber and nutty flavor. Greek yogurt can replace up to half the butter in the crumb mixture, just freeze it first and grate it in for the best texture.
For a lower sugar option, try reducing the brown sugar by 1/4 cup and adding an extra teaspoon of cinnamon and vanilla. The spices will amp up the flavor perception of sweetness! Additionally, you can use coconut oil instead of butter for a dairy-free version, though the flavor will be slightly different.
If you’re watching carbs, almond flour mixed with rolled oats creates a delicious grain-free base, though you’ll need to adjust the ratios slightly since almond flour behaves differently than wheat flour.
Serving Suggestions
These bars are incredibly versatile! Serve them warm with a scoop of vanilla ice cream for the ultimate comfort dessert, or enjoy them at room temperature with your morning coffee, they make an excellent not-too-sweet breakfast treat.
For entertaining, cut them into smaller squares and arrange on a platter with other fall desserts. You could pair them with pumpkin cheesecake cookies for a truly autumnal lineup.
During the holidays, warm them slightly and serve with a dollop of whipped cream and a sprinkle of cinnamon. They’re also fantastic crumbled over yogurt or oatmeal for a special breakfast that feels like dessert!
Common Mistakes to Avoid
The biggest mistake I see people make is not letting their caramel cool enough before drizzling. Hot caramel will make your crumb topping soggy and create uneven distribution. Let it cool for about 5 minutes until it’s still pourable but not steaming.
Another common pitfall is over-mixing the crumb mixture. You want those butter pieces to stay distinct, they’re what create the tender, flaky texture we’re after. Over-mixing leads to tough, dense bars instead of light, crumbly ones.
Don’t skip the cornstarch in the apple filling! It might seem like a small detail, but it’s what keeps your bars from becoming a soggy mess. Similarly, make sure your apples are diced uniformly so they cook evenly.
Finally, resist the urge to cut into these bars while they’re still warm. I know it’s tempting, but patience pays off with clean, professional-looking slices that hold together beautifully.
Storing Tips for the Recipe
These bars actually improve with time! Store them covered at room temperature for up to 4 days, or in the refrigerator for up to a week. The flavors meld together beautifully, and the texture becomes even more cohesive.
For longer storage, wrap individual bars in plastic wrap and freeze for up to 3 months. They thaw perfectly at room temperature in about 2 hours, or you can warm them gently in a 300°F oven for 10 minutes.
If you want to prep ahead, you can make the crumb mixture up to 3 days in advance and store it in the refrigerator. The caramel can also be made ahead and gently rewarmed when you’re ready to assemble everything.
Pro tip: Place a piece of bread in the storage container to keep the bars from drying out – it’s an old bakery trick that works like magic!
Conclusion
These Salted Caramel Apple Crumble Bars represent everything I love about home baking, they’re approachable enough for beginners but impressive enough to wow a crowd. The combination of tender apples, rich caramel, and buttery crumble creates a symphony of textures and flavors that’ll have everyone asking for the recipe.
What makes these bars truly special isn’t just their incredible taste, but how they bring people together. Whether you’re packing them in lunch boxes, bringing them to potlucks, or simply enjoying them with family on a quiet evening, they create those sweet moments that make life a little more delicious.
So go ahead, give these Salted Caramel Apple Crumble Bars a try! I’d love to hear how they turn out for you, drop me a comment below and let me know if you tried any of my suggested variations. Happy baking, friends!
FAQs
Can I use different types of apples for this recipe?
Absolutely! While I love Honeycrisp for their perfect balance of sweet and tart, Granny Smith, Braeburn, or Gala work beautifully too. Just avoid soft varieties like Red Delicious that turn mushy when baked.
What if my caramel crystallizes or seizes up?
Don’t panic! This happens sometimes, especially in humid weather. You can often save it by adding a tablespoon of water and stirring over low heat. If all else fails, start the caramel over, it only takes about 10 minutes.
Can I make these bars gluten-free?
Yes! Substitute the all-purpose flour with a 1:1 gluten-free baking flour blend. The texture will be slightly different but still delicious. Make sure your oats are certified gluten-free too.
How do I know when the caramel is the right color?
You’re looking for a deep amber color, similar to an old copper penny. It should smell nutty and sweet, not burnt. If you have a candy thermometer, aim for around 340°F.
Can I double this recipe for a crowd?
Definitely! Use a large sheet pan (18×13 inches) and increase the baking time by about 10-15 minutes. Keep an eye on the edges to make sure they don’t get too dark.
Why are my bars falling apart when I cut them?
This usually means they need more cooling time. Make sure they’re completely cool before cutting, and use a sharp knife wiped clean between cuts. Chilling them for 30 minutes before cutting can also help!